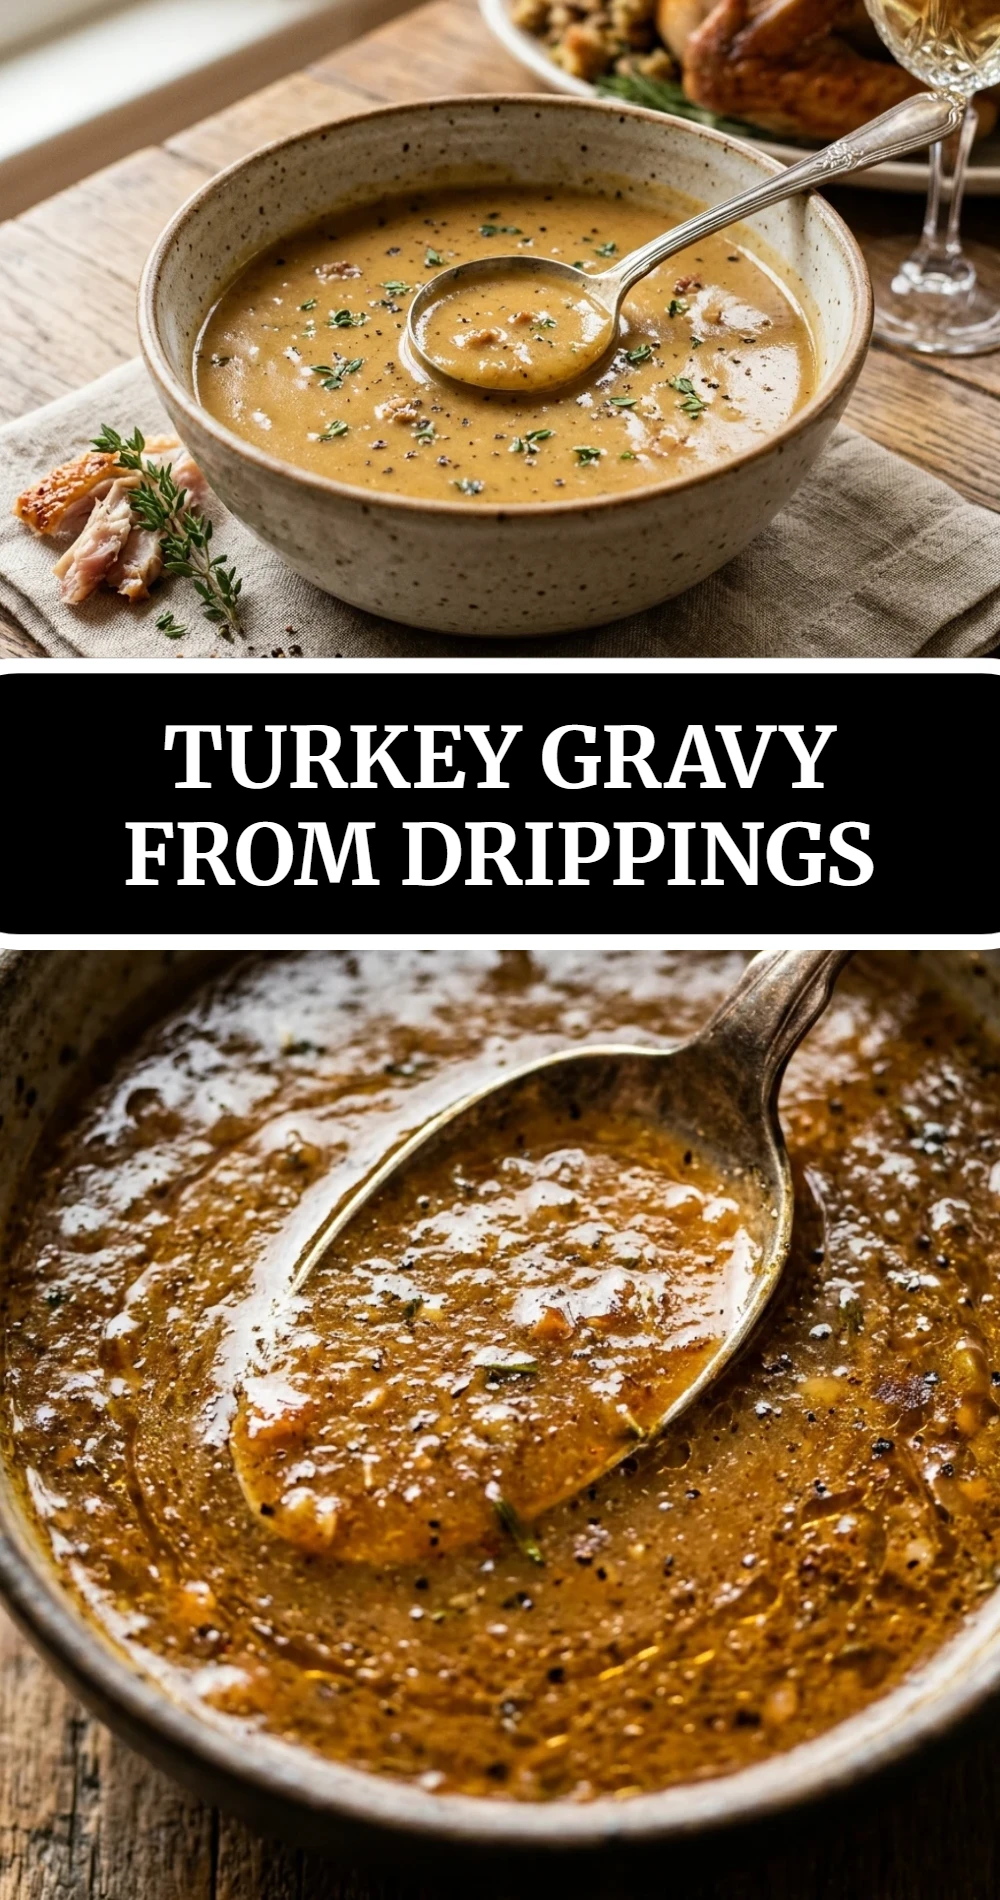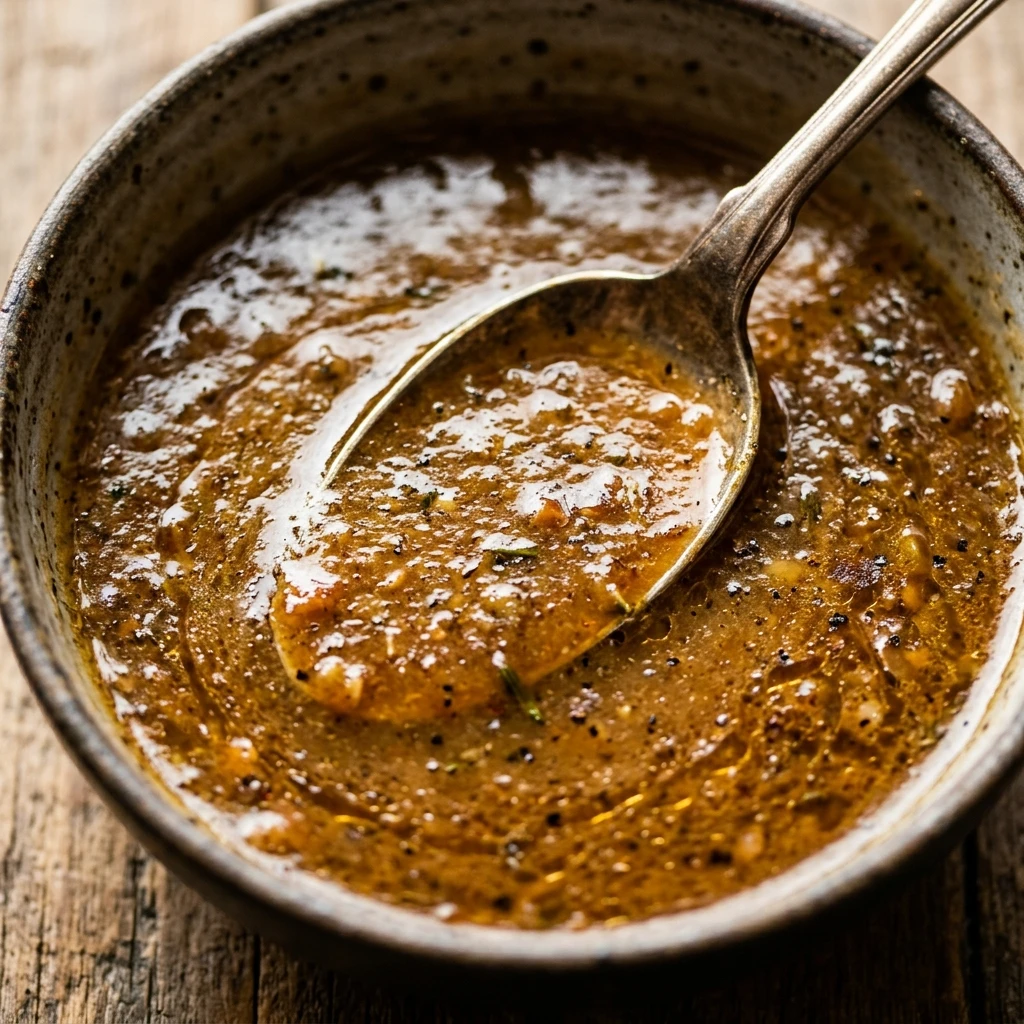
Nothing beats the smell of a roasting turkey filling your home, but the real star of the show is often the rich, velvety gravy poured over everything on your plate. Making turkey gravy from drippings is a tradition that turns the savory essence of the bird into a liquid gold. This homemade sauce has a deep, complex flavor that store-bought versions simply cannot match. It captures all the roasted notes, the herbs, and the natural juices from your holiday bird. When you pour this smooth, warm gravy over a pile of fluffy mashed potatoes, it creates the ultimate comfort food experience. The texture is silky, the color is a beautiful golden brown, and the taste is pure satisfaction.
Why Make This Turkey Gravy from Drippings
Making your own gravy from scratch is one of the best ways to reduce waste and maximize flavor. Those browned bits at the bottom of your roasting pan are packed with intense seasoning. Instead of washing them away, you turn them into a delicious sauce. This recipe is also much healthier than canned options because you control the salt and the quality of the ingredients. It is cost-effective and gives you a sense of pride to serve something completely homemade. Plus, the aroma of the bubbling roux and stock on the stove makes your kitchen feel even more festive and inviting.
How to Make Turkey Gravy from Drippings
The process starts with collecting the juices left behind after your turkey finishes roasting. You separate the clear yellow fat from the dark, flavorful liquid. First, you create a “roux” by cooking the turkey fat with a little flour. This mixture acts as the thickener. Once the roux is toasted and fragrant, you slowly whisk in the turkey juices and additional stock. Constant whisking is the secret to a lump-free result. As the mixture heats up, it transforms from a thin liquid into a thick, glossy sauce that coats the back of a spoon perfectly.
Ingredients
- 1/2 cup turkey pan drippings (separated into fat and liquid)
- 1/4 cup all-purpose flour
- 2 to 3 cups turkey stock or chicken stock (warm)
- Salt to taste
- Freshly ground black pepper to taste
- 1/2 teaspoon dried thyme or 1 sprig of fresh rosemary (optional)
Directions
- Pour all the liquids from your roasting pan into a large glass measuring cup or a fat separator. Let it sit for a few minutes so the fat rises to the top.
- Carefully skim off 1/4 cup of the clear fat from the top and place it into a medium saucepan. If you do not have enough fat, you can use melted butter to reach the 1/4 cup mark.
- Discard any remaining excess fat, but keep the dark liquid (the “jus”) that is left at the bottom of the cup.
- Set the saucepan over medium heat. Once the fat is shimmering, whisk in the flour. Cook the mixture for 2 to 3 minutes, whisking constantly, until it turns a light golden brown and smells slightly nutty.
- Slowly pour the reserved turkey juices into the pan while whisking vigorously.
- Gradually add the turkey stock, one cup at a time, continuing to whisk to prevent any lumps from forming.
- Add the herbs if you are using them. Bring the gravy to a gentle simmer.
- Continue to cook and whisk for about 5 to 7 minutes until the gravy reaches your desired thickness.
- Remove the fresh herb sprigs if used. Taste the gravy and add salt and pepper as needed. Remember that drippings are often already salty, so taste before adding more.
- Pour the hot gravy into a warmed gravy boat and serve immediately.
Nutritional Information
This nutritional information is an estimate based on a standard serving size of 1/4 cup. Actual values may vary depending on the fat content of your specific turkey drippings.
- Calories: 85 kcal
- Total Fat: 6g
- Saturated Fat: 2g
- Cholesterol: 10mg
- Sodium: 320mg
- Total Carbohydrates: 4g
- Fiber: 0g
- Sugar: 0g
- Protein: 2g
How to Serve Turkey Gravy from Drippings
This gravy is the perfect companion for a traditional roast turkey dinner. Pour it generously over sliced turkey breast and dark meat to keep the meat moist. It is also essential for a “volcano” of mashed potatoes, where you create a well in the center and fill it with sauce. You can use it to moisten stuffing or dressing, and it tastes wonderful drizzled over roasted carrots or green beans. For a casual twist, use leftovers to make a “turkey manhattan” sandwich by layering bread, turkey, and a heavy pour of gravy over the top.
How to Store Turkey Gravy from Drippings
You can store leftover gravy in an airtight container in the refrigerator for up to 3 to 4 days. When you are ready to eat it again, reheat it in a small saucepan over low heat. If the gravy becomes too thick after chilling, simply whisk in a splash of water or stock to loosen it up. For longer storage, you can freeze turkey gravy. Pour it into freezer bags or containers, leaving a little room for expansion, and freeze for up to 3 months. Thaw it overnight in the fridge before reheating and whisking well to restore the smooth texture.
Expert Tips for Perfect Turkey Gravy from Drippings
- Deglaze the pan: Before pouring the drippings out of the roasting pan, add a little hot stock to the pan and scrape the bottom with a wooden spoon to get all those tasty browned bits.
- Whisk constantly: To avoid lumps, never stop whisking while you are adding the liquid to the roux.
- Temperature matters: Using warm stock instead of ice-cold stock helps the sauce thicken more evenly and prevents the fat from seizing.
- Use a fat separator: This handy kitchen tool makes it very easy to get the clear fat away from the flavorful juices without any mess.
- Strain for silkiness: If you find a few lumps in your gravy, simply pour it through a fine-mesh strainer before serving for a perfectly smooth finish.
Delicious Variations
- Creamy Herb Gravy: Stir in 2 tablespoons of heavy cream at the very end and add chopped fresh parsley and chives for a bright, rich flavor.
- Garlic Lover’s Gravy: Sauté two cloves of minced garlic in the turkey fat for 30 seconds before adding the flour.
- Mushroom Turkey Gravy: Sauté sliced cremini mushrooms in a separate pan until browned, then stir them into the finished gravy for an earthy touch.
- Onion Gravy: Finely dice a small onion and cook it in the turkey fat until soft and translucent before starting your roux.
- Peppery Gravy: Use a blend of white, black, and green peppercorns for a more complex, spicy bite.
Frequently Asked Questions
1. What if I don’t have enough drippings?
If your turkey didn’t produce much liquid, don’t worry. You can use melted butter in place of the turkey fat and use high-quality store-bought turkey or chicken stock for the liquid portion.
2. Why is my gravy lumpy?
Lumps usually happen if the flour and fat aren’t mixed well or if the liquid is added too fast. You can fix this by whisking vigorously or putting the gravy in a blender for a few seconds.
3. How can I make my gravy darker?
The color comes from the roux. Cook the flour and fat mixture a little longer until it reaches a deeper brown color before adding the liquid. Just be careful not to burn it.
4. Is this gravy gluten-free?
This specific recipe uses all-purpose flour, so it contains gluten. To make it gluten-free, you can use a gluten-free all-purpose flour blend or use cornstarch mixed with cold water as a thickener instead of the roux.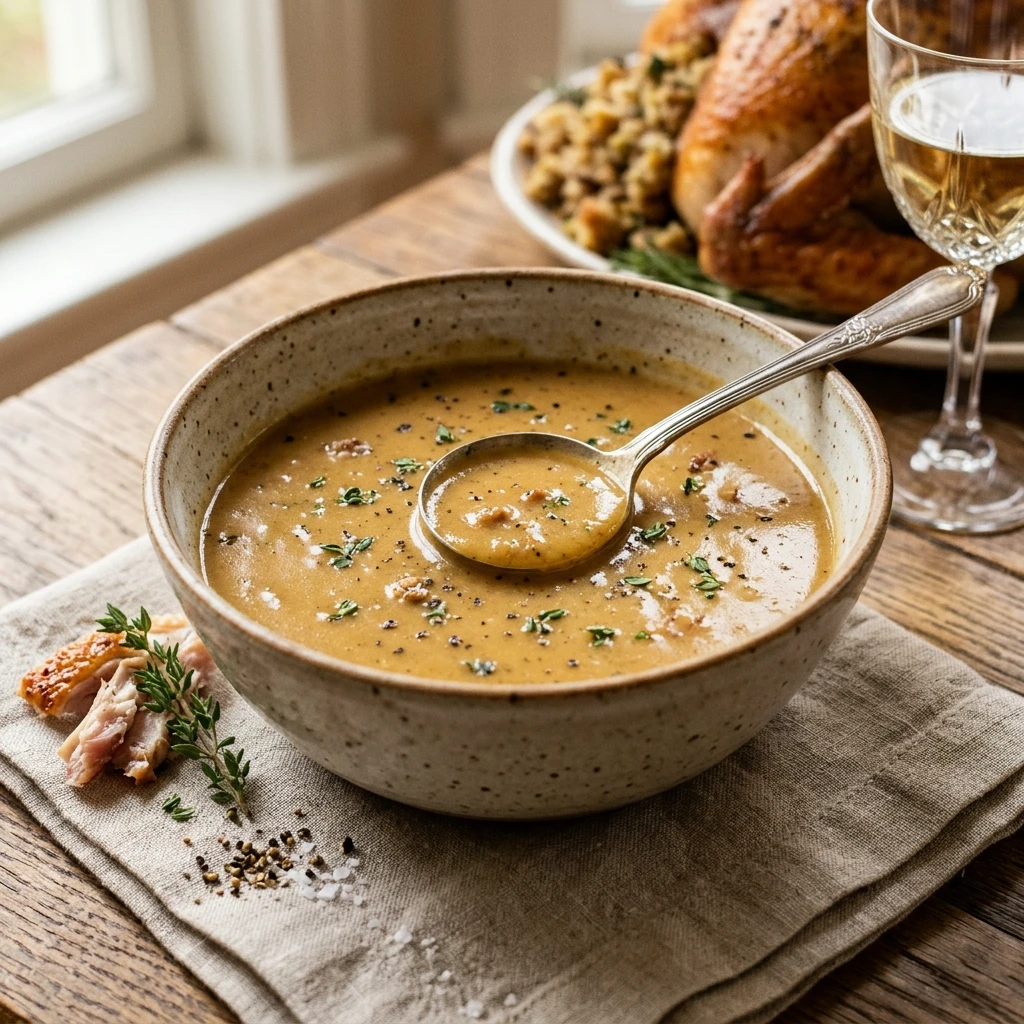
5. Can I make this gravy ahead of time?
Yes! You can make it a day early using stock and then whisk in the fresh drippings on the day of your big meal to refresh the flavor.
6. My gravy is too thin, how do I fix it?
Let it simmer uncovered for a few more minutes to reduce. Alternatively, mix a teaspoon of cornstarch with a teaspoon of cold water and whisk it into the boiling gravy.
7. My gravy is too salty, what should I do?
Dilute the gravy with a little more unsalted stock or water. You can also add a tiny pinch of sugar or a splash of heavy cream to balance the saltiness.
8. Can I use chicken stock instead of turkey stock?
Absolutely. Chicken stock has a very similar flavor profile and works perfectly as a substitute if turkey stock is unavailable.
9. Do I need to peel the fat off the drippings?
Yes, it is important to separate the fat. Using too much fat will make the gravy greasy, while using just the right amount to cook the flour creates the perfect emulsion.
10. How do I keep the gravy warm during dinner?
A thermal gravy boat is a great investment. If you don’t have one, keep the gravy in a small slow cooker on the “warm” setting or in a covered pot on the very lowest stove setting.
Conclusion
Mastering turkey gravy from drippings is a skill that will elevate every holiday meal you host. This recipe transforms simple pan remains into a savory, heart-warming sauce that brings the entire dinner together. With its rich aroma and silky texture, it is sure to be the highlight of the table. Whether you are a beginner or a seasoned home cook, this straightforward method ensures success every time. We hope you give this recipe a try during your next big family gathering. If you enjoyed this guide, please share it with your friends or leave a comment telling us about your favorite holiday side dishes. Happy cooking!