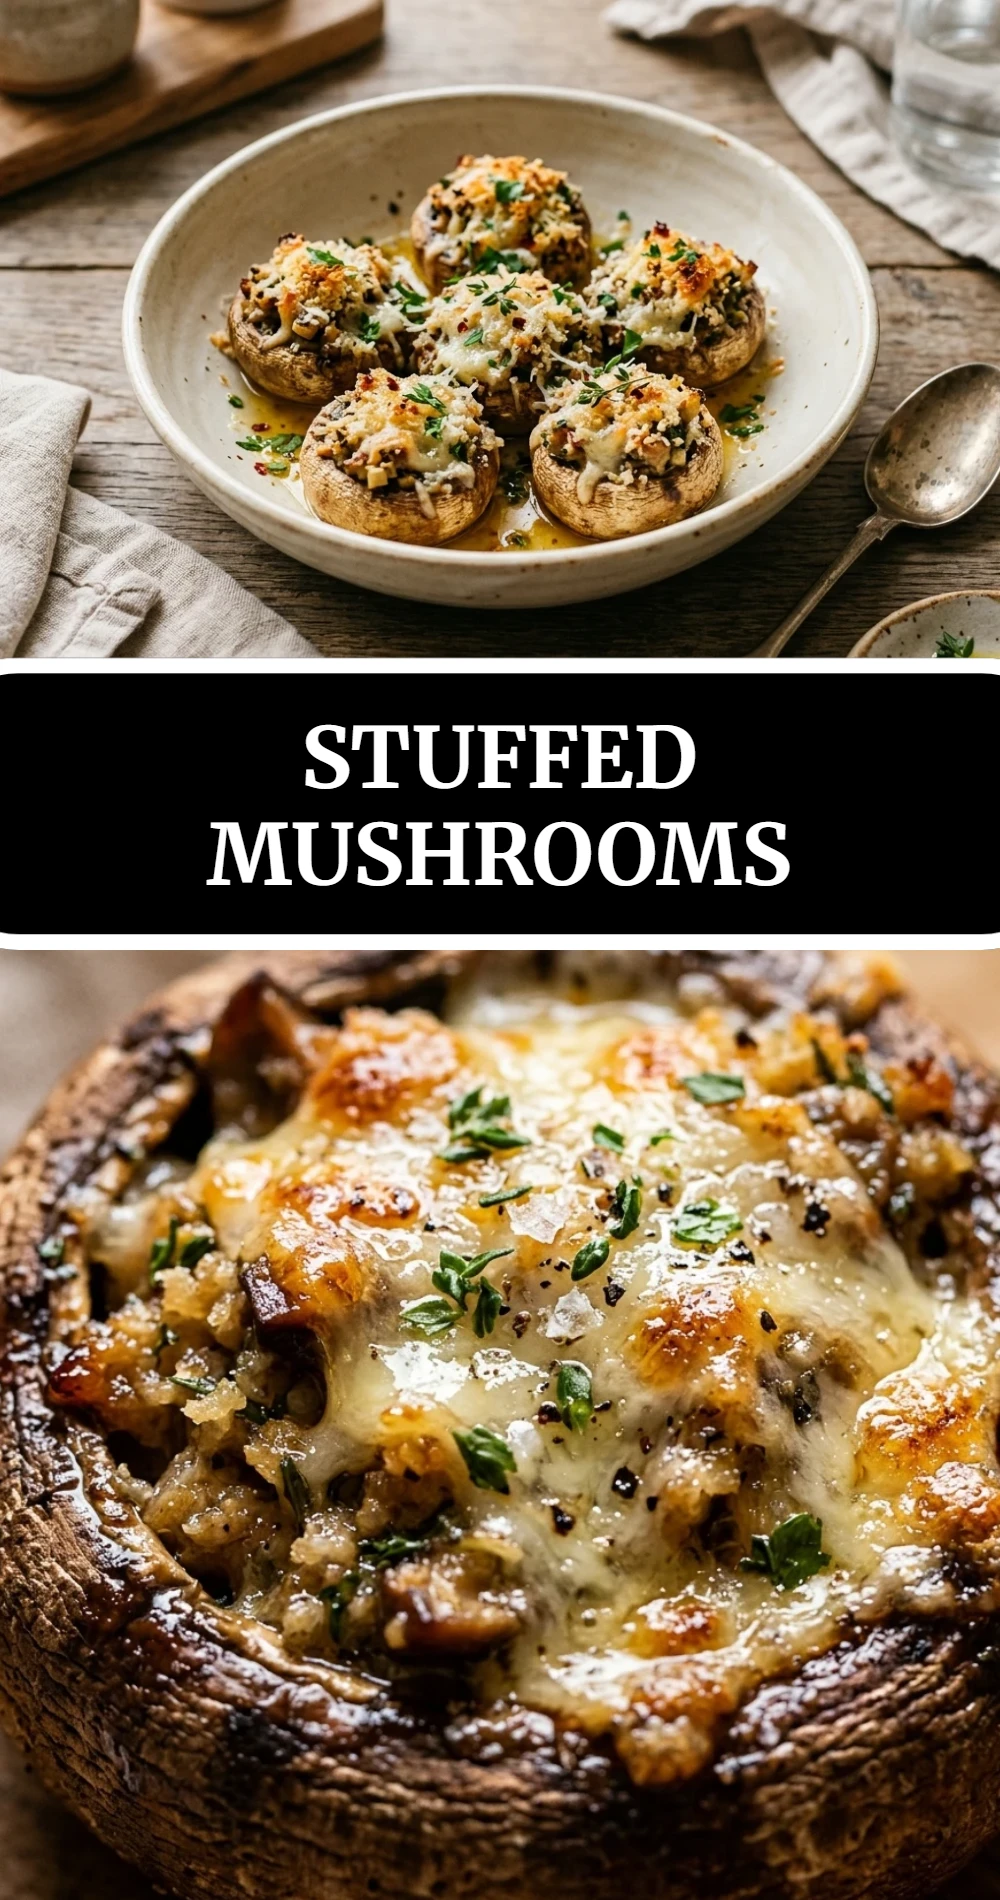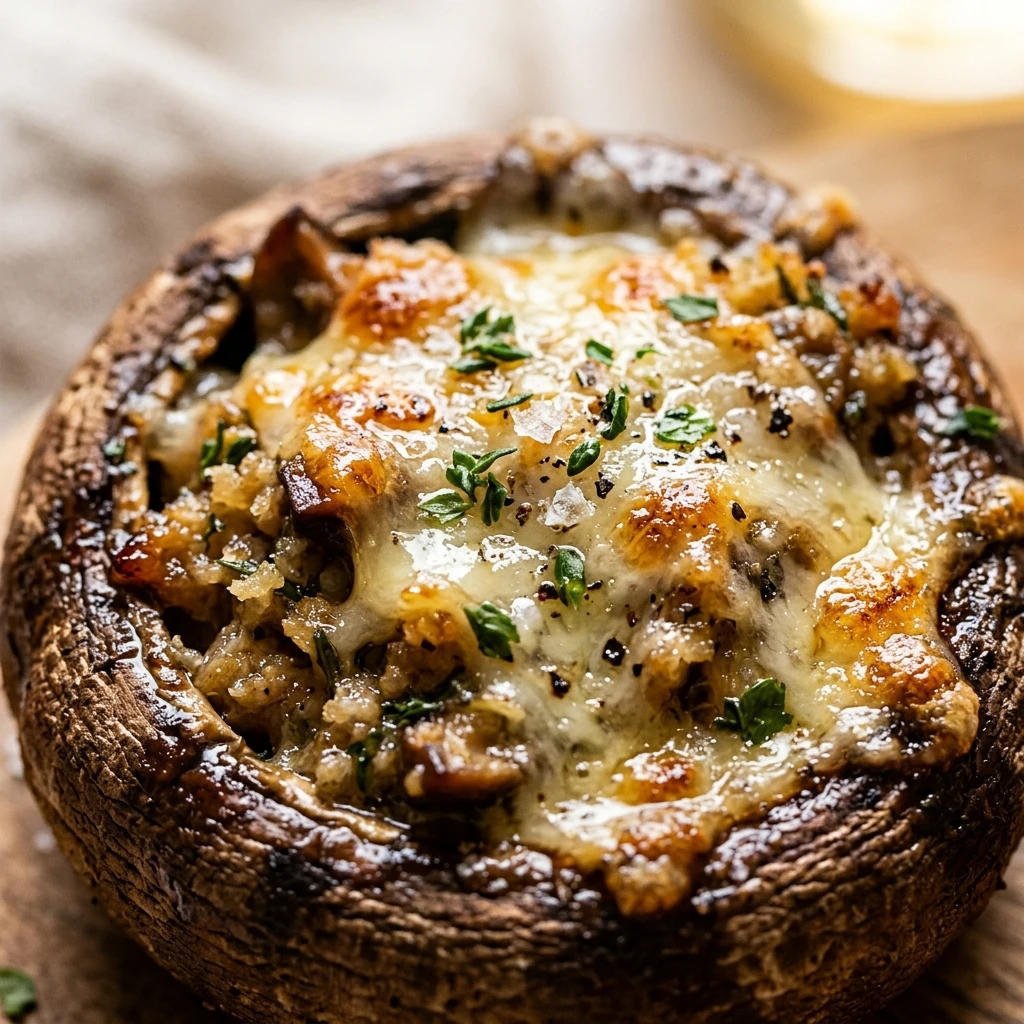
Stuffed mushrooms are the ultimate crowd-pleasing appetizer. These tiny bites pack a huge punch of flavor with their earthy mushroom caps and rich, creamy filling. When you pull them out of the oven, the smell of roasted garlic and melted cheese instantly makes everyone hungry. They look elegant on a platter, but they are surprisingly simple to make. The contrast between the soft mushroom and the slightly crunchy, golden-brown topping is absolutely delicious. Whether you are hosting a big party or just want a special snack at home, these savory treats are always a hit.
Why Make This Stuffed Mushrooms
You should make these stuffed mushrooms because they are incredibly versatile and easy to prepare. They use simple ingredients that you can find at any grocery store. These bite-sized snacks are perfect for any occasion, from holiday dinners to casual game nights. They are also naturally low in carbohydrates, making them a great option for many different diets. The combination of savory beef bacon, tangy cream cheese, and nutty Parmesan creates a flavor profile that appeals to almost everyone. Plus, you can prepare the filling ahead of time to save yourself stress when your guests arrive.
How to Make Stuffed Mushrooms
Making these mushrooms is a straightforward process that anyone can master. First, you clean the mushrooms and separate the stems from the caps. You won’t throw those stems away; instead, you chop them up and sauté them with garlic to build a deep flavor base. Next, you mix the cooked stems with softened cream cheese, savory beef bacon, and herbs. Once the filling is ready, you simply spoon it into the hollowed-out caps. A quick trip to the oven transforms them into golden, bubbly delights. It is a fun and rewarding process that results in a professional-looking dish.
Ingredients:
- 15 large white button mushrooms or baby bella mushrooms
- 2 tablespoons unsalted butter
- 2 cloves garlic, minced
- 4 ounces cream cheese, softened to room temperature
- 1/4 cup grated Parmesan cheese
- 1/4 cup breadcrumbs (plain or seasoned)
- 1/4 cup cooked beef bacon, finely crumbled
- 2 tablespoons fresh parsley, finely chopped
- 1/4 teaspoon salt (adjust to taste)
- 1/4 teaspoon black pepper
- 1 tablespoon olive oil (for brushing the caps)
Directions:
- Preheat your oven to 400°F (200°C). Lightly grease a large baking sheet or line it with parchment paper.
- Clean the mushrooms using a damp paper towel to remove any dirt. Gently pop the stems out of the mushroom caps. Set the caps aside.
- Finely chop the mushroom stems. In a small skillet over medium heat, melt the butter. Add the chopped stems and sauté for about 5 minutes until they are soft and the moisture has evaporated.
- Add the minced garlic to the skillet and cook for another 1 minute until it smells fragrant. Remove the skillet from the heat and let it cool slightly.
- In a medium mixing bowl, combine the softened cream cheese, Parmesan cheese, breadcrumbs, crumbled beef bacon, parsley, salt, and pepper. Fold in the sautéed mushroom stems and garlic.
- Use a small pastry brush to lightly coat the outside of each mushroom cap with olive oil. This helps them roast beautifully without drying out.
- Using a small spoon or your fingers, fill each mushroom cap generously with the cream cheese mixture. Press the filling down slightly so it stays in place.
- Arrange the stuffed mushrooms on the prepared baking sheet with the filling side facing up.
- Bake for 18 to 22 minutes, or until the mushroom caps are tender and the filling is golden brown on top.
- Remove from the oven and let them cool for 5 minutes before serving. Garnish with a little extra parsley if desired.
Nutritional Information
This nutritional information is an estimate per serving (approximately 3 stuffed mushrooms):
- Calories: 185 kcal
- Total Fat: 14g
- Saturated Fat: 8g
- Cholesterol: 35mg
- Sodium: 320mg
- Total Carbohydrates: 9g
- Dietary Fiber: 1g
- Sugars: 2g
- Protein: 7g
- Vitamin D: 4% DV
- Calcium: 8% DV
- Iron: 6% DV
How to Serve Stuffed Mushrooms
Stuffed mushrooms are best served warm, right after they have had a few minutes to cool. Arrange them on a white ceramic platter to make the golden tops pop. They work wonderfully as a standalone appetizer, but you can also serve them as a side dish alongside grilled beef steaks or roasted chicken. For a party, place a small toothpick in each one to make it easy for guests to grab and eat in one or two bites. You can also drizzle a little bit of balsamic glaze over the top for a sweet and tangy finish that looks very fancy.
How to Store Stuffed Mushrooms
If you have leftovers, you can store them in an airtight container in the refrigerator for up to 3 days. To keep them from getting soggy, place a paper towel at the bottom of the container to absorb extra moisture. When you want to eat them again, it is best to reheat them in the oven or an air fryer at 350°F until they are warmed through. Avoid using the microwave if possible, as it can make the mushrooms rubbery. While you can freeze the filling, it is not recommended to freeze the fully assembled mushrooms because the texture of the fresh mushroom changes significantly when thawed.
Expert Tips for Perfect Stuffed Mushrooms
To get the best results, always wipe your mushrooms clean with a damp cloth instead of washing them under running water. Mushrooms act like sponges and will soak up water, which makes them soggy during baking. Make sure your cream cheese is truly at room temperature so it mixes smoothly without lumps. If you want an extra crispy top, you can sprinkle a few more breadcrumbs or a bit more Parmesan on top just before putting them in the oven. Also, try to choose mushrooms that are similar in size so they all cook at the same rate.
Delicious Variations
You can easily change this recipe to suit your taste. For a spicy kick, add a pinch of red pepper flakes or a teaspoon of diced jalapeños to the filling. If you want a seafood twist, swap the beef bacon for chopped cooked shrimp or crab meat. For a vegetarian version, omit the beef bacon and add finely chopped sun-dried tomatoes or sautéed spinach. You can also experiment with different cheeses; swapping the Parmesan for sharp white cheddar or Gruyère adds a whole new layer of flavor. If you want a gluten-free version, simply use almond flour or gluten-free breadcrumbs instead of regular ones.
Frequently Asked Questions
1. Can I make these ahead of time?
Yes! You can stuff the mushrooms up to 24 hours in advance. Keep them covered in the fridge and bake them just before you are ready to serve.
2. Why are my stuffed mushrooms watery?
This usually happens if the mushrooms were washed under water or if the stems weren’t sautéed long enough to remove their moisture. Using a damp towel to clean them helps a lot.
3. Can I use Portobello mushrooms?
Yes, you can use large Portobello mushrooms. You will just need to increase the baking time to about 30 minutes and you may need more filling.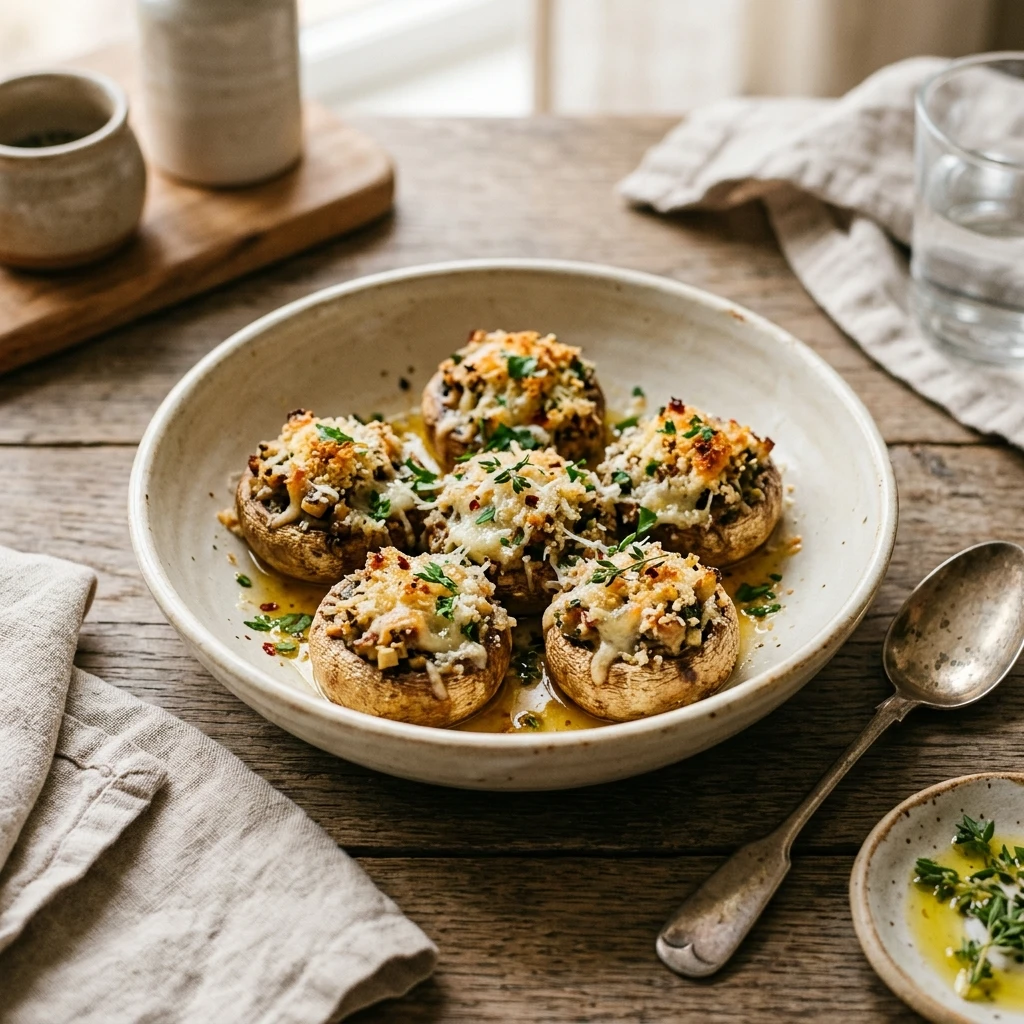
4. Do I have to use beef bacon?
No, you can leave it out for a vegetarian version, or use other halal options like smoked turkey or extra sautéed vegetables.
5. What kind of breadcrumbs are best?
Panko breadcrumbs provide the best crunch, but regular plain or Italian-seasoned breadcrumbs work perfectly fine too.
6. How do I know when they are done?
The mushroom caps will look slightly shrunken and darker, and the cheese filling should be bubbling and lightly browned on top.
7. My filling is too soft. What should I do?
If the filling feels too loose, add an extra tablespoon of breadcrumbs or Parmesan cheese to help bind it together.
8. Can I use a different herb instead of parsley?
Absolutely. Fresh thyme, chives, or even a little bit of rosemary pair beautifully with mushrooms.
9. Is it necessary to peel the mushrooms?
No, there is no need to peel them. Just wipe away any visible dirt.
10. Can I use pre-minced garlic from a jar?
Yes, you can, though fresh garlic usually provides a much stronger and better flavor for this specific dish.
Conclusion
Stuffed mushrooms are a classic for a reason. They offer a wonderful mix of textures and savory flavors that feel truly indulgent. This recipe is simple enough for a beginner but delicious enough to impress the most experienced foodies. By following these easy steps, you will create a beautiful appetizer that disappears within minutes of hitting the table. Don’t be afraid to get creative with the fillings and make the recipe your own. Give these a try for your next gathering, and don’t forget to share your results with friends and family. Happy cooking!