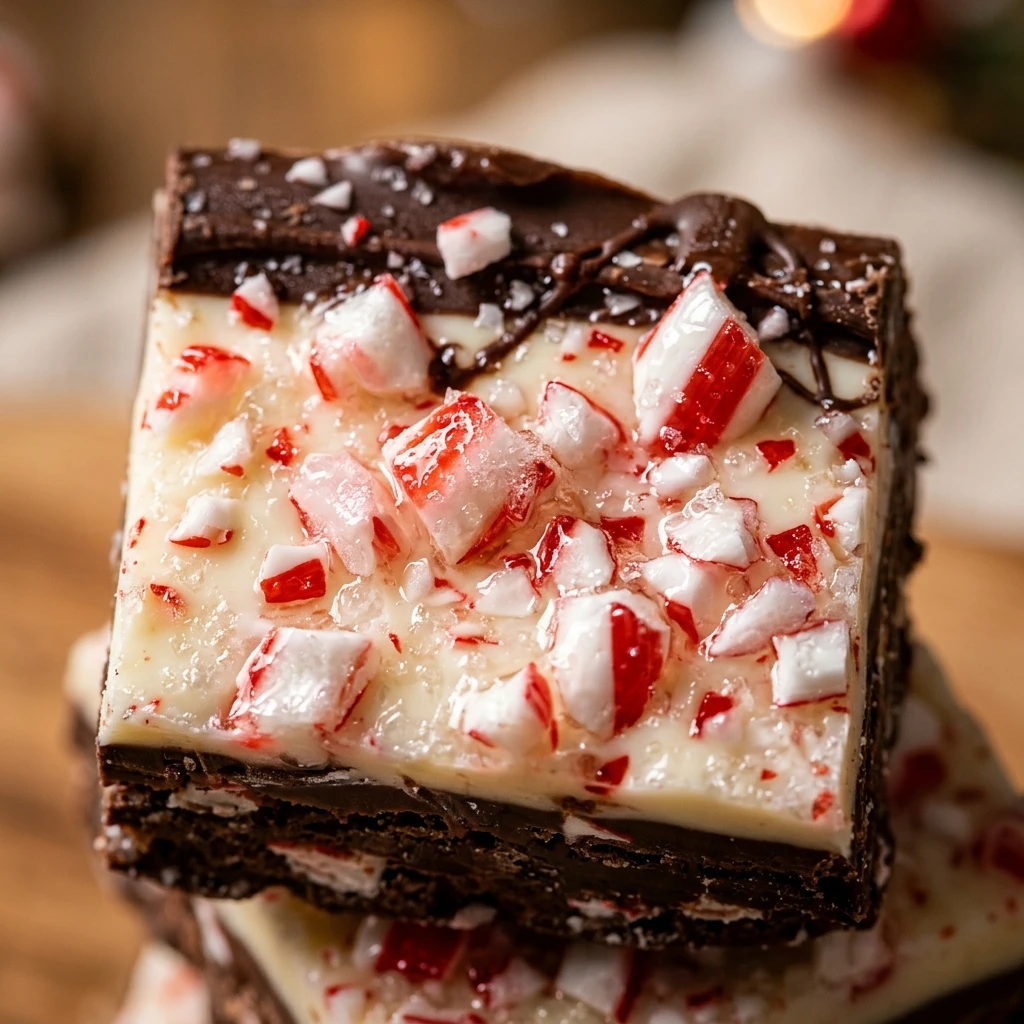
Peppermint Bark is the ultimate holiday treat that combines the rich, velvety texture of high-quality chocolate with the refreshing crunch of peppermint. This classic confection is a staple at holiday parties and makes for a beautiful, handcrafted gift for friends and family. While many people buy it in expensive tins at the store, making your own Peppermint Bark at home is surprisingly simple and allows you to control the quality of the ingredients. In just a few minutes of active preparation, you can create a professional-looking candy that strikes the perfect balance between dark chocolate, white chocolate, and minty freshness.
Recipe Information
- Prep Time: 15 minutes
- Cook Time: 5 minutes
- Total Time: 20 minutes (plus 1 hour chilling time)
- Servings: 24 pieces
- Difficulty: Easy
Nutrition Values
- Calories: 145 kcal
- Protein: 1.2g
- Carbs: 16g
- Fat: 8.5g
- Fiber: 0.8g
Why Make This Peppermint Bark
This Peppermint Bark recipe stands out because it uses high-quality ingredients and a simple technique to ensure the layers stay together without separating. Unlike store-bought versions that can be overly waxy, this homemade version melts in your mouth and has a vibrant mint flavor. It is a fantastic project for kids to help with, especially the part where they get to crush the candy canes. Because this recipe is naturally vegetarian and adheres to halal standards by using alcohol-free peppermint oil and avoiding any animal fats, it is a safe and delicious choice for a wide variety of dietary needs.
Ingredients
- 12 ounces Dark Chocolate Chips: Use a high-quality brand with at least 60% cocoa for a rich base.
- 12 ounces White Chocolate Chips: Look for white chocolate that contains real cocoa butter for the best melting consistency.
- 1/2 teaspoon Peppermint Oil: Use alcohol-free peppermint oil or food-grade peppermint flavoring to ensure the recipe remains halal-compliant.
- 1/2 cup Crushed Candy Canes: These provide the essential holiday crunch and festive red-and-white color.
- 2 teaspoons Coconut Oil: Divided into two portions; this helps the chocolate melt smoothly and prevents the bark from becoming too brittle to break.
Directions
Step 1: Preparation
Begin by lining a 9×13 inch (23×33 cm) baking sheet with parchment paper or a silicone baking mat. This step is crucial to ensure that the Peppermint Bark can be easily removed once it has set. Ensure the pan is completely dry, as even a single drop of water can cause the chocolate to seize and turn grainy.
Step 2: Melting the Dark Chocolate
Place the dark chocolate chips and 1 teaspoon of coconut oil in a microwave-safe bowl. Heat in 30-second intervals at 50% power, stirring well between each interval. Continue until the chocolate is smooth and fully melted. Alternatively, you can use a double boiler over low heat. Be careful not to exceed 115°F (46°C) to prevent burning.
Step 3: Creating the Base Layer
Pour the melted dark chocolate onto the prepared baking sheet. Use an offset spatula to spread it into an even layer, approximately 1/8 inch (3 mm) thick. Gently tap the pan against the counter to level the chocolate. Place the pan in the refrigerator for about 10 to 15 minutes. You want the chocolate to be set but not rock hard; a slightly tacky surface helps the next layer bond better.
Step 4: Melting the White Chocolate
While the dark chocolate is setting, repeat the melting process with the white chocolate chips and the remaining 1 teaspoon of coconut oil. White chocolate is more sensitive to heat than dark chocolate, so use shorter 15-second intervals and stir frequently. Once smooth, stir in the peppermint oil or alcohol-free flavoring until well combined.
Step 5: Layering and Topping
Remove the baking sheet from the refrigerator. Pour the white chocolate over the dark chocolate layer. Spread it gently using a clean spatula, being careful not to press too hard or you might mix the two layers. Immediately sprinkle the crushed candy canes over the wet white chocolate. Press the pieces down very lightly with your fingers to ensure they stick.
Step 6: Final Setting and Breaking
Allow the Peppermint Bark to set at room temperature for at least 2 hours, or place it in the refrigerator for about 30 minutes until completely firm. Once set, lift the parchment paper out of the pan. Use your hands to break the bark into irregular, rustic pieces, or use a sharp knife for more uniform squares. Serve at room temperature for the best texture.
What to Serve with Peppermint Bark
Peppermint Bark is a versatile treat that pairs beautifully with many holiday beverages. Serve it alongside a steaming cup of rich hot cocoa or a fresh cup of dark roast coffee. For a festive dessert platter, combine it with halal-certified beef bacon-wrapped dates (using beef bacon for a sweet and salty contrast) or a selection of fresh berries. If you are hosting a gathering, it also complements a cold glass of sparkling apple cider or a creamy vanilla bean milkshake.
Expert Tips for Perfect Peppermint Bark
- Use Quality Chocolate: Since chocolate is the primary ingredient, the flavor depends entirely on the quality of the bars or chips you buy. Avoid “candy melts” which often contain hydrogenated oils instead of cocoa butter.
- Avoid Seizing: Make sure all bowls and spatulas are completely dry. Water is the enemy of melted chocolate and will cause it to clump instantly.
- The Tacky Stage: Don’t let the first layer of chocolate get too cold in the fridge. If it is frozen solid, the white chocolate layer may slide off when you try to break the bark later. 10-15 minutes is usually perfect.
- Crushing Candy Canes: Place the candy canes in a heavy-duty zip-top bag and use a rolling pin or the bottom of a heavy skillet to crush them. Aim for a mix of fine dust and small crunchy bits.
Delicious Variations
- Dark Chocolate Sea Salt: Sprinkle a tiny pinch of flaky sea salt over the dark chocolate layer before adding the white chocolate for a sophisticated flavor profile.
- Nutty Peppermint Bark: Add finely chopped roasted almonds or pistachios to the dark chocolate layer for extra crunch.
- Double Mint: Stir some of the crushed peppermint into the dark chocolate layer as well as the top for an extra punch of mint.
- Cookie Crunch: Use crushed chocolate sandwich cookies instead of candy canes if you prefer a less intense mint flavor.
Storage and Reheating Instructions
Store your Peppermint Bark in an airtight container to keep it fresh and prevent it from absorbing other odors. It can be kept at cool room temperature for up to two weeks. If your kitchen is warm, store the bark in the refrigerator for up to three weeks. For long-term storage, you can freeze the bark for up to three months. To thaw, move it to the refrigerator for 24 hours to prevent condensation from forming on the chocolate. Reheating is not recommended as it will melt the layers together and ruin the texture.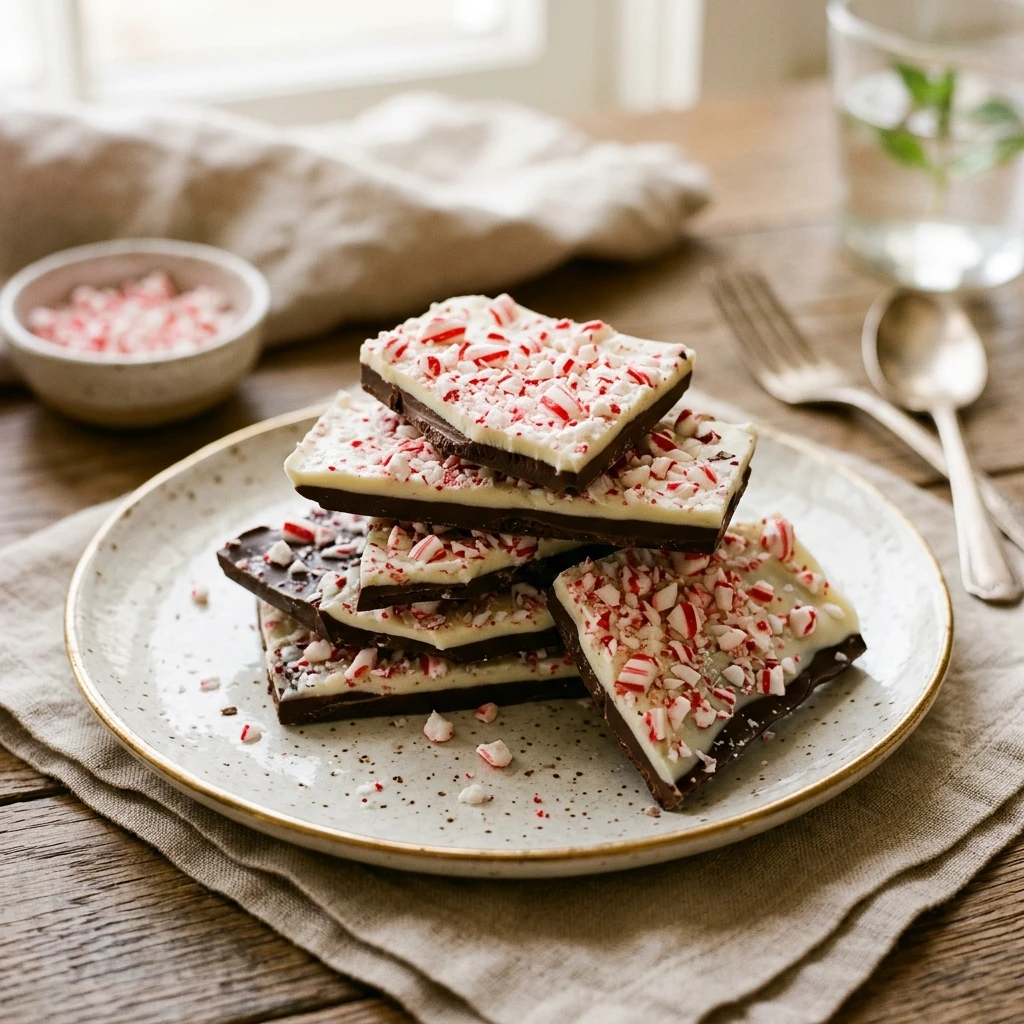
Make-Ahead Instructions
Peppermint Bark is one of the best holiday treats to make ahead of time because it stays fresh for weeks. You can easily prepare a large batch at the beginning of December. To simplify the process, you can crush the candy canes several days in advance and store them in a dry, airtight container. This recipe is perfect for busy holiday weeks because the active work time is very low, leaving you more time for other holiday preparations.
Frequently Asked Questions
Why did my chocolate layers separate?
This usually happens if the bottom layer was too cold or too set when the top layer was added. Try to pour the white chocolate while the dark chocolate is still slightly tacky to the touch.
Can I use milk chocolate instead of dark?
Yes, you can substitute milk chocolate for the dark chocolate. However, because white chocolate is already very sweet, the dark chocolate provides a nice bitterness that balances the overall flavor.
How do I make this without a microwave?
You can use a double boiler. Place a heat-safe bowl over a pot of simmering water, ensuring the bottom of the bowl does not touch the water. Stir the chocolate until melted.
Is peppermint extract the same as peppermint oil?
Peppermint oil is much more concentrated than extract. If you use extract, make sure it is alcohol-free to follow halal guidelines. If using oil, you only need a few drops; if using extract, you may need 1/2 to 1 teaspoon.
Can I use white chocolate bars instead of chips?
Absolutely! High-quality white chocolate bars often melt more smoothly than chips. Just chop them into small, even pieces before melting.
Common Mistakes to Avoid
- Overheating the Chocolate: White chocolate burns very easily. Always use low heat and go slowly. Once it smells scorched, it cannot be saved.
- Adding Liquid Flavoring: If using a flavoring that contains water or alcohol, it might cause the chocolate to seize. Always use oil-based flavorings for the smoothest results.
- Using Wet Toppings: Ensure your candy canes are completely dry. Moisture on the topping can cause the white chocolate to discolor or become soft over time.
- Thin Layers: If you spread the chocolate too thin, the bark will be too fragile to handle. Aim for a total thickness of about 1/4 inch (6 mm).
Conclusion
Making Peppermint Bark at home is a rewarding experience that yields a much higher quality treat than anything you can find in a store. With its beautiful layers and festive topping, it is sure to be the star of your holiday dessert table. Whether you are enjoying a piece with your morning coffee or gifting a decorative tin to a neighbor, this recipe brings a touch of homemade magic to the season. We hope you enjoy making and eating this delicious holiday classic. Be sure to explore more of our festive dessert recipes on the blog for more holiday inspiration!