There is nothing quite like a true New York City slice. It is large, thin, and flexible enough to fold in half, yet it boasts a crispy outer crust and a distinctively chewy center. You might think you need a commercial deck oven to achieve that iconic texture, but the secret actually lies in the dough. This recipe brings the authentic taste of a Manhattan pizzeria right into your home kitchen. By using a long cold fermentation process, we develop deep flavors and a perfect “micro-blistered” crust that will make you swear you are standing on a street corner in Brooklyn. Grab your flour and let’s get started on making the ultimate New York style pizza dough.
Recipe Information
- Prep Time: 20 minutes (plus 24-72 hours fermentation)
- Cook Time: 10 minutes
- Total Time: 30 minutes
- Servings: 3 dough balls (12-inch pizzas)
- Difficulty: Medium
Nutrition values
- Calories: 285 kcal (per 1/8th of a pizza)
- Protein: 9g
- Carbs: 54g
Why Make This New York Style Pizza Dough
This recipe focuses on authenticity and science. Unlike standard pizza dough, New York style requires a specific hydration level and a slow rise. The addition of sugar helps the crust brown in a standard home oven, which cannot reach the extreme temperatures of a commercial pizza oven. The olive oil provides that signature “tender-yet-chewy” bite that prevents the crust from becoming too cracker-like. Most importantly, the cold ferment in the refrigerator breaks down starches into sugars, resulting in a complex flavor that a quick-rise dough simply cannot match.
Ingredients
- 28 ounces (approx. 5 cups) Bread Flour (High-gluten flour is best)
- 17.5 ounces (approx. 2 cups) Lukewarm water (90°F)
- 2 teaspoons Fine sea salt
- 1 teaspoon Instant dry yeast
- 2 teaspoons Granulated sugar
- 2 tablespoons Extra virgin olive oil
- Additional flour for dusting
Directions
Step 1: Mixing the Dough
Combine the lukewarm water, sugar, and yeast in the bowl of a stand mixer. Stir it gently and let it sit for about 5 minutes until it becomes slightly foamy. Add the olive oil, then add the bread flour and salt. Use the dough hook attachment on the lowest speed to mix the ingredients until a shaggy ball forms and no dry flour remains on the sides of the bowl.
Step 2: Kneading for Structure
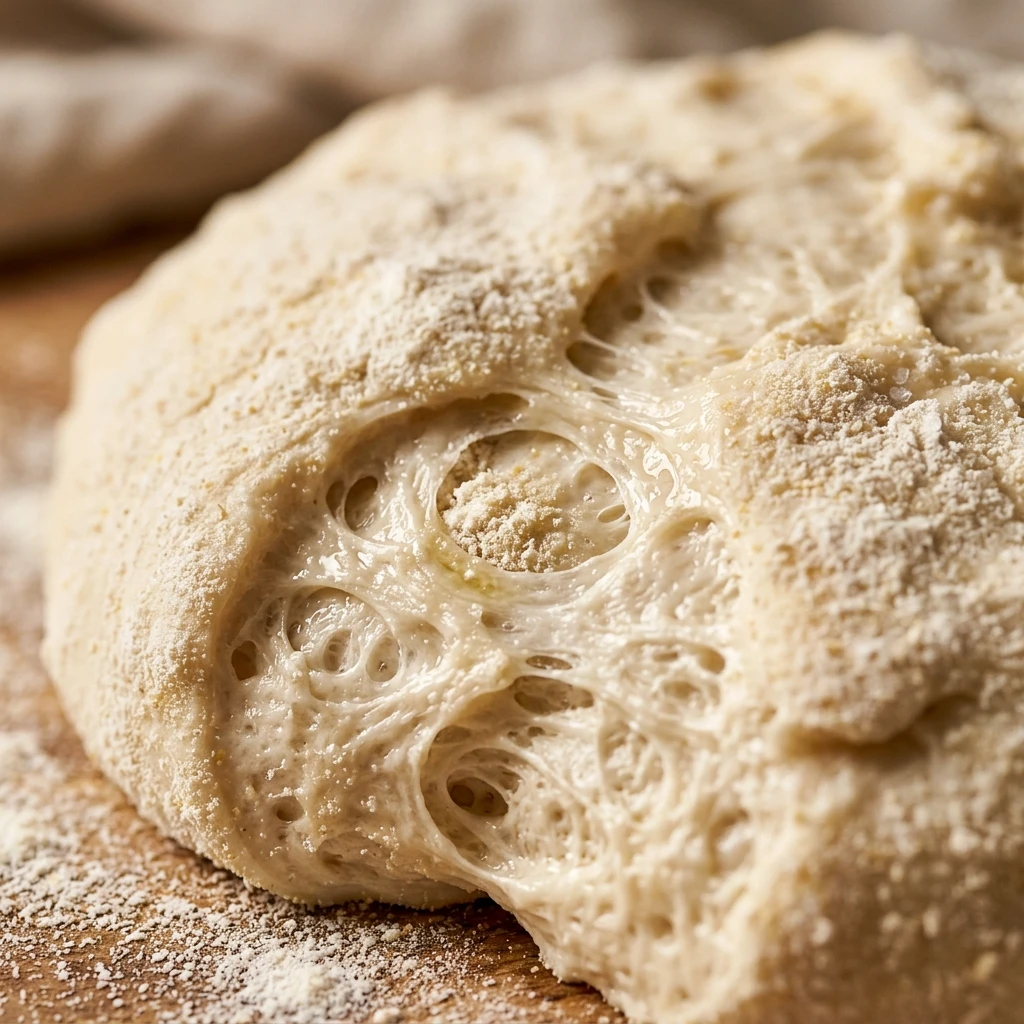
Increase the mixer speed to medium-low and knead the dough for 8 to 10 minutes. The dough should become smooth, elastic, and slightly tacky to the touch, but it should not stick aggressively to your fingers. If the dough seems too wet, add one tablespoon of flour at a time. If it is too dry, add a teaspoon of water. You are looking for the “windowpane test” where a small piece of dough can be stretched thin enough to see light through it without tearing.
Step 3: The Initial Rise
Remove the dough from the mixer and shape it into a large, smooth ball. Place it in a lightly oiled bowl and cover it tightly with plastic wrap. Let the dough sit at room temperature for about 60 minutes. This allows the yeast to wake up and begins the fermentation process before the cold rest.
Step 4: Portioning and Cold Fermentation
Turn the dough out onto a lightly floured surface. Divide it into three equal pieces (about 15-16 ounces each). Shape each piece into a tight, smooth ball by pulling the sides toward the bottom. Place each ball into an individual airtight container or a zip-top bag coated with a little olive oil. Refrigerate for at least 24 hours, though 48 to 72 hours is the “sweet spot” for maximum flavor and better crust browning.
Step 5: Stretching and Baking
Two hours before you are ready to bake, remove a dough ball from the fridge. Let it come to room temperature while covered. Preheat your oven to its highest setting (usually 500°F or 550°F) with a pizza stone or steel inside. On a floured surface, gently press the dough into a disk using your fingertips. Stretch it out by hand—avoiding a rolling pin—until it is about 12-14 inches wide. Top sparingly and bake for 8-12 minutes until the edges are charred and the cheese is bubbly.
Expert Tips for Perfect New York Style Pizza Dough
Always use bread flour rather than all-purpose flour. The higher protein content in bread flour creates the gluten network necessary for that chewy New York texture. Additionally, never use a rolling pin to flatten your dough; this pushes out all the beautiful air bubbles created during fermentation. Instead, use your knuckles to stretch the dough from the center outward. Finally, make sure your oven and pizza stone have preheated for at least 45-60 minutes before the pizza goes in to ensure a crispy bottom crust.
Delicious Variations
While the classic dough is a masterpiece, you can experiment with flavors. Add a tablespoon of dried oregano and garlic powder directly into the flour for an “herb-crust” experience. You can also swap the sugar for honey or malt syrup for a different depth of sweetness and a darker crust color. For a healthier twist, replace 20% of the bread flour with whole wheat flour, though you may need to add an extra tablespoon of water to compensate for the higher absorption.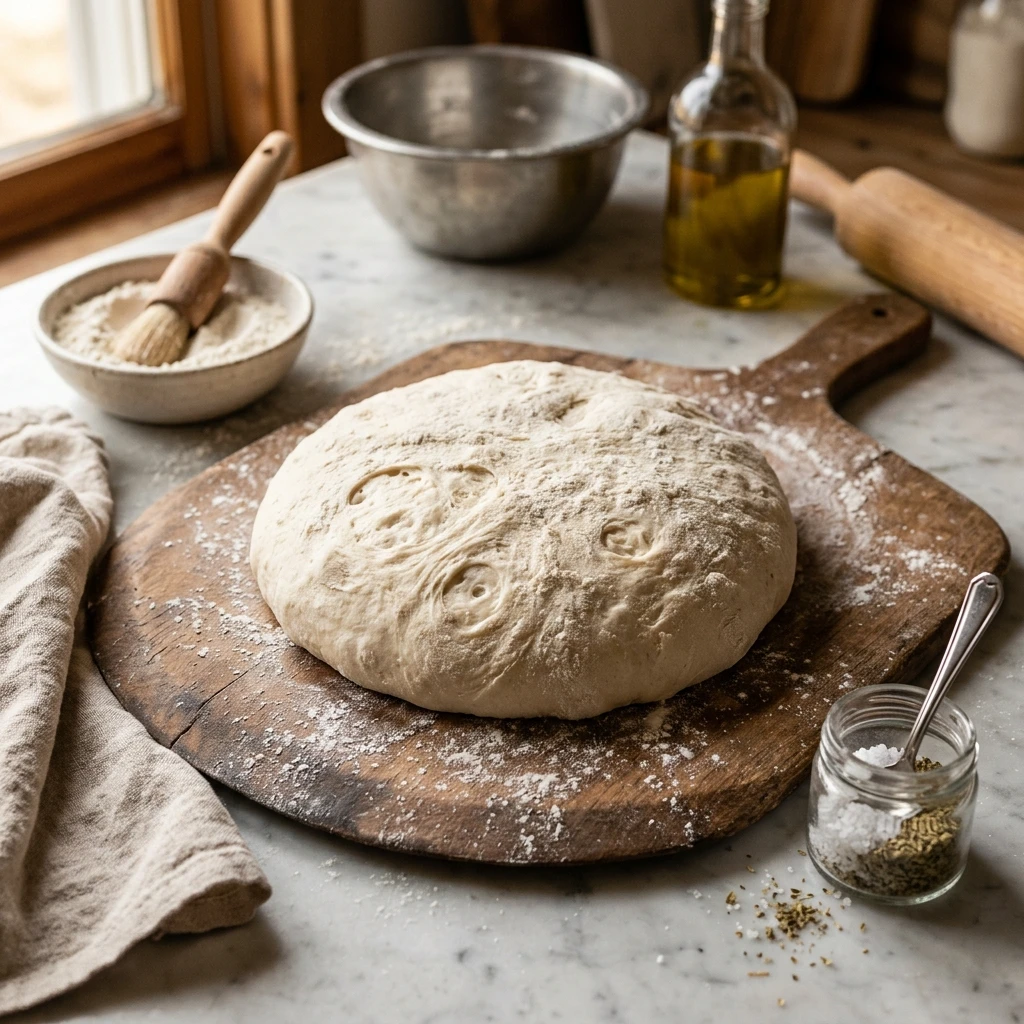
Frequently Asked Questions
Can I use active dry yeast instead of instant?
Yes, you can. However, you must proof active dry yeast in the warm water and sugar for 10 minutes until it is very foamy before adding the flour. Use about 25% more active dry yeast than the amount of instant yeast called for in the recipe.
Do I really have to wait 24 hours?
While you can use the dough after the initial room temperature rise, you will miss out on the signature New York flavor and texture. The cold ferment is what allows the enzymes to work their magic, creating the “leathery” chew and the complex taste.
How long can the dough stay in the refrigerator?
The dough is best between 2 and 4 days. After 5 days, the yeast may begin to exhaust its food supply, and the dough might lose its structural integrity and smell overly acidic or alcoholic.
Can I freeze this pizza dough?
Absolutely. After the dough balls have cold-fermented in the fridge for at least 24 hours, you can move them to the freezer. They will last for up to 3 months. Thaw them overnight in the refrigerator before using.
What if my dough keeps shrinking back when I stretch it?
This means the gluten is too tight. If the dough resists stretching, stop, cover it with a towel, and let it rest for 10 to 15 minutes. This allows the gluten to relax, making it much easier to stretch to your desired size.
Conclusion
Mastering New York style pizza dough is a rite of passage for any home cook. It requires patience and a bit of technique, but the reward is a professional-quality pizza that surpasses anything from a delivery chain. By focusing on high-quality flour and a slow cold fermentation, you create a foundation that elevates simple toppings into a gourmet meal. Fire up your oven, prep your dough ahead of time, and enjoy the satisfying crunch and fold of a perfect homemade slice.
New York Style Pizza Dough
Ingredients
Method
- Combine the lukewarm water, sugar, and yeast in the bowl of a stand mixer. Stir gently and let sit for about 5 minutes until foamy.
- Add the olive oil, then add the bread flour and salt. Mix with the dough hook attachment on the lowest speed until a shaggy ball forms with no dry flour on the sides.
- Increase the mixer speed to medium-low and knead the dough for 8 to 10 minutes until smooth, elastic, and slightly tacky.
- If too wet, add flour one tablespoon at a time; if too dry, add water one teaspoon at a time.
- Perform the 'windowpane test' to check gluten development.
- Remove the dough and shape it into a large ball. Place it in an oiled bowl and cover tightly with plastic wrap.
- Let sit at room temperature for about 60 minutes.
- Turn the dough onto a floured surface, divide into three equal pieces.
- Shape each piece into a tight ball and place in individual airtight containers or bags coated with olive oil.
- Refrigerate for at least 24 hours, ideally 48 to 72 hours.
- Two hours before baking, remove a dough ball from the fridge, let come to room temperature while covered.
- Preheat the oven to its highest setting (500°F or 550°F) with a pizza stone inside.
- On a floured surface, gently press the dough into a disk and stretch to about 12-14 inches wide. Top sparingly and bake for 8-12 minutes.