Fried Cheese Stuffed Doritos That’ll Blow Your Taste Buds Away are a delightful twist on a classic snack that combines crispy, cheesy goodness with the bold flavors of your favorite chip. These little bites of heaven will have you craving more with every crunchy, gooey morsel. The alluring combination of melted cheese and the iconic Doritos flavor creates an irresistible appetizer or party snack that everyone will love.
Why Make This Fried Cheese Stuffed Doritos That’ll Blow Your Taste Buds Away
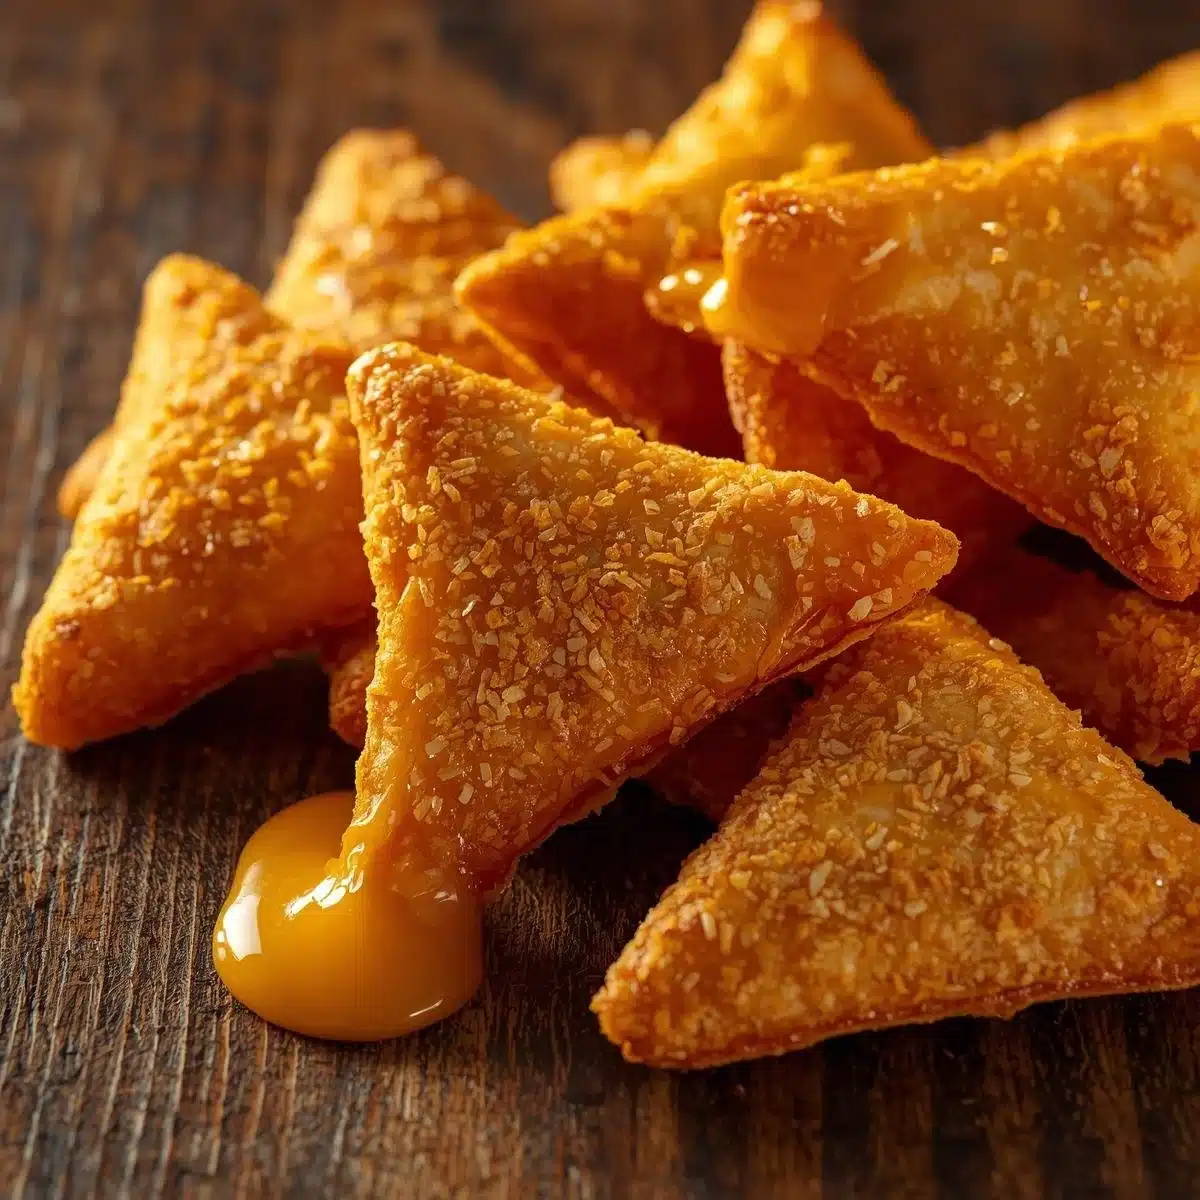
There are countless reasons to whip up these Fried Cheese Stuffed Doritos, but the most compelling one is their incredible taste. The outer layer is delectably crunchy, thanks to panko breadcrumbs, while the inside oozes with rich, creamy cheese. They’re not only a quick and easy make-ahead treat, but they’re also versatile enough to be served at a casual gathering or a festive party. Plus, they’re gluten-free if you opt for a suitable flour! With dipping sauces like salsa, ranch, or guacamole, you’ll have a flavor explosion that’s hard to resist.
How to Make Fried Cheese Stuffed Doritos That’ll Blow Your Taste Buds Away
Making Fried Cheese Stuffed Doritos is straightforward, and you won’t need any fancy equipment. Just follow these steps and prepare to serve a snack that will wow your family and friends. This recipe offers basic guidelines to ensure perfect results every time.
Ingredients:
- 1 cup shredded cheddar cheese
- 1 cup cream cheese (can substitute with any soft cheese)
- 2 cups Doritos (choose your favorite flavor)
- 1 cup all-purpose flour (or gluten-free flour)
- 1 large egg (or use aquafaba for a vegan option)
- 1 cup panko breadcrumbs (for extra crunch)
- 2 cups vegetable oil (or peanut/sunflower oil)
- To taste salt (sprinkle on top right after frying)
Directions:
- Start by preparing your ingredients. In a mixing bowl, combine the shredded cheddar cheese and cream cheese until well blended.
- Crush the Doritos into smaller pieces—this will help them stick better to the cheese mixture.
- Take your cheese mixture and form small balls (about 1-inch in diameter), then roll each ball in the crushed Doritos, making sure each one is well coated.
- Prepare a frying station with three bowls: one with flour, one with beaten egg (or aquafaba), and one with panko breadcrumbs mixed with some extra crushed Doritos for added flavor.
- Dredge each cheese ball first in flour, shaking off excess, then dip into egg, and finally coat in panko breadcrumbs.
- Heat vegetable oil in a deep pan over medium-high heat. Once hot, carefully add cheese balls in batches, frying until golden brown and crispy (about 3-4 minutes).
- Use a slotted spoon to remove the fried balls and place them on a plate lined with paper towels. Sprinkle with salt while still hot.
Nutritional Information
Each serving (3 cheese balls) contains approximately:
- Calories: 350
- Total Fat: 25g (Saturated Fat: 10g)
- Carbohydrates: 30g (Fiber: 2g)
- Protein: 8g
- Sodium: 400mg
Note: Nutritional values may vary depending on specific brands and ingredients used.
How to Serve Fried Cheese Stuffed Doritos That’ll Blow Your Taste Buds Away
These cheesy delights are perfect for parties or game day! Serve them on a large platter with an array of dipping sauces like tangy salsa, zesty ranch dressing, or fresh guacamole. They also work wonderfully as a quick snack or appetizer for movie night with the family. The vibrant colors of the Doritos combined with the cheesy centers will make them a show-stopper on any table.
How to Store Fried Cheese Stuffed Doritos That’ll Blow Your Taste Buds Away
To store any leftovers, place the cooled Fried Cheese Stuffed Doritos in an airtight container. They can be kept in the refrigerator for up to three days. However, for the best texture, enjoy them fresh out of the fryer. If you prefer to make them in advance, consider prepping the cheese balls and freezing them before frying. They can last up to two months in the freezer. When ready to serve, fry them straight from the freezer—just add a couple of extra minutes to the cooking time.
Expert Tips for Perfect Fried Cheese Stuffed Doritos That’ll Blow Your Taste Buds Away
- Use Different Cheese: Feel free to experiment with different types of cheese. Pepper Jack adds a spicy kick, while mozzarella offers a milder taste.
- Spice it Up: Mix in some fresh herbs or spices into the cheese mixture for a flavor boost.
- Oil Temperature: Ensure the oil is hot enough before frying; if it’s too cool, the cheese may ooze out, ruining your crispy texture.
- Batch Frying: Don’t overcrowd the fryer to avoid dropping the oil temperature.
Delicious Variations
- Buffalo Chicken Style: Add shredded cooked chicken mixed with buffalo sauce to the cheese blend for a spicy twist.
- Vegan Option: Use plant-based cheeses and aquafaba instead of egg for a delicious vegan version.
- Sweet and Savory: Try using cinnamon-flavored Doritos and a mixture of cream cheese and powdered sugar for a dessert version.
Frequently Asked Questions
- Can I bake these instead of frying? Yes! Preheat your oven to 400°F (200°C) and place the cheese balls on a baking sheet lined with parchment paper. Spray them lightly with cooking oil and bake for around 15-20 minutes, until golden and crispy.
- What dipping sauces are best? You can’t go wrong with classic ranch, creamy avocado, or tangy salsa. For an adventurous twist, try a spicy sriracha mayo or garlic aioli.
- Can I freeze these before frying? Absolutely! Prepare the cheese balls, then place them on a baking sheet in the freezer until solid. Once frozen, transfer them to a freezer bag for up to two months. Fry from frozen, adding a few extra minutes to the cooking time.
Conclusion
Fried Cheese Stuffed Doritos That’ll Blow Your Taste Buds Away are more than just a snack; they’re a flavor-packed, crispy treat that anyone can enjoy. With simple ingredients and easy preparation, you can indulge in a deliciously cheesy delight that’s perfect for any occasion. So gather your friends and family, and give this recipe a try. You’ll be the hit of the party, and who knows, it might just become your new favorite guilty pleasure!