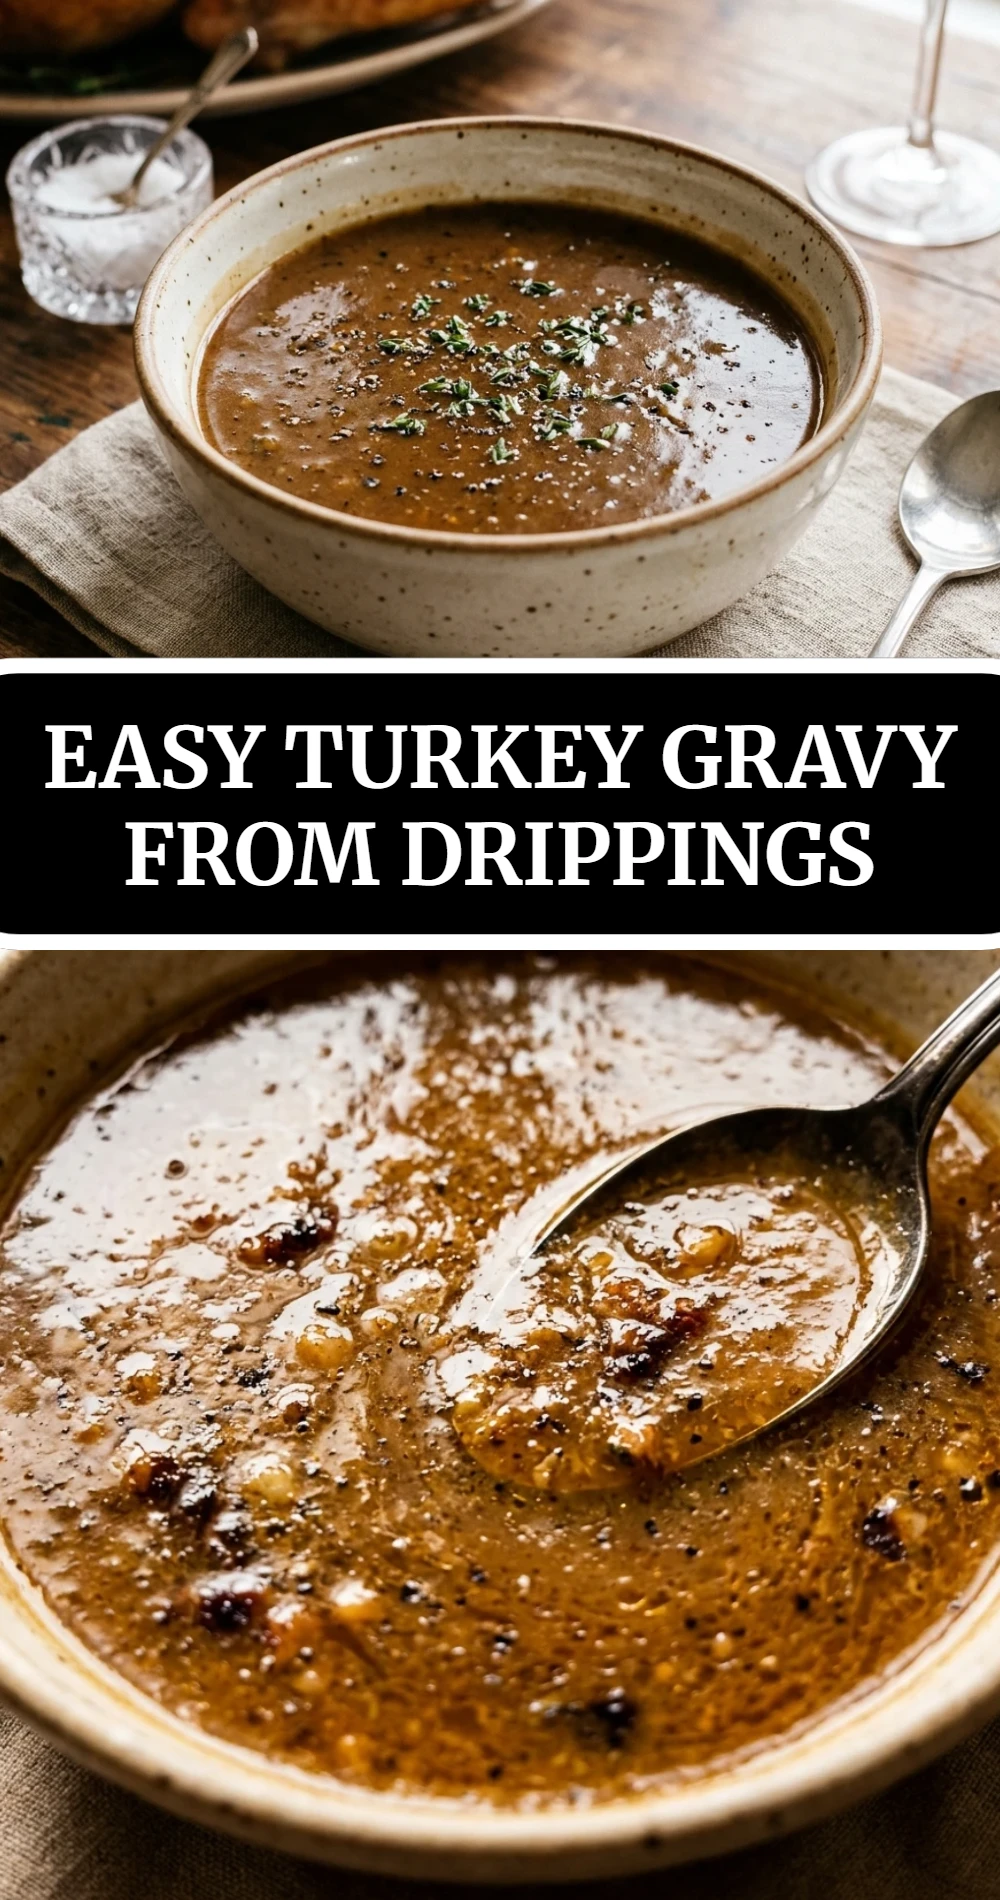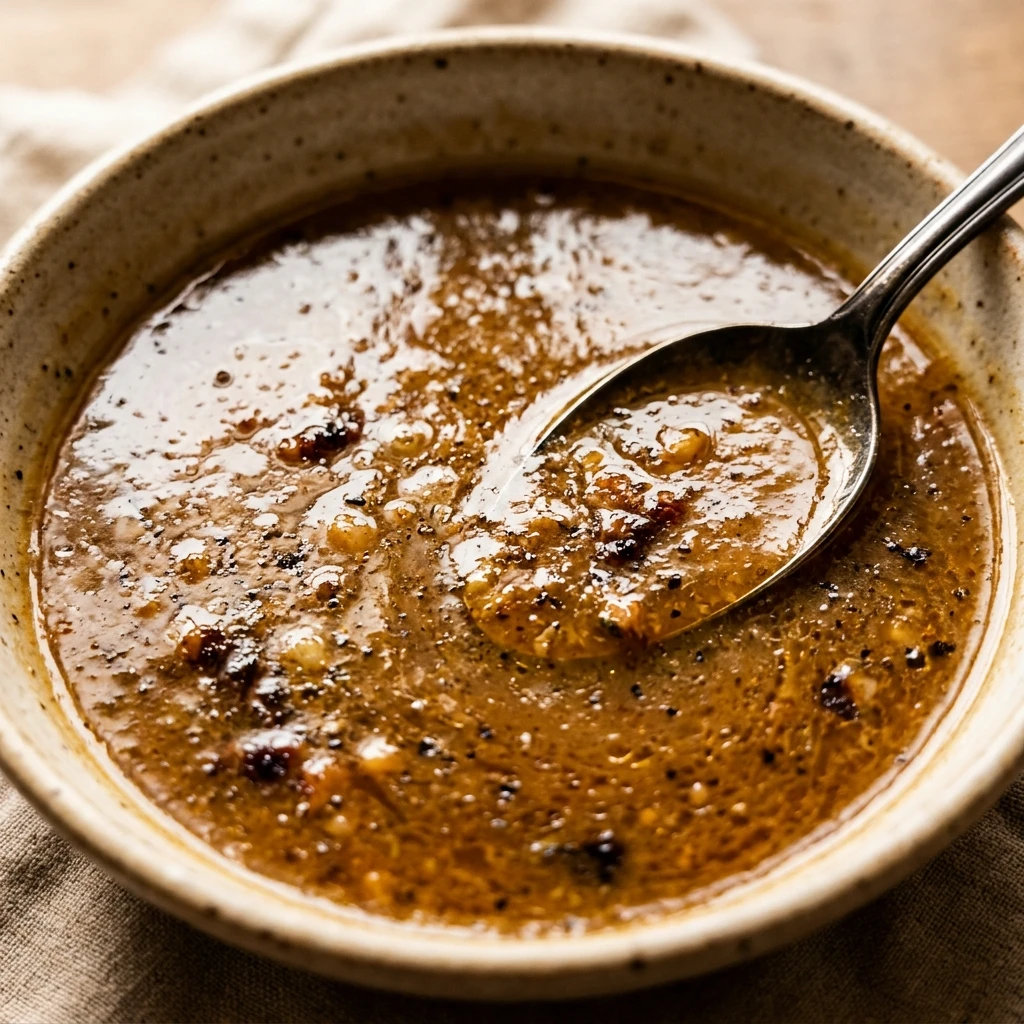
Nothing beats the smell of a roasting turkey filling your kitchen on a festive afternoon. As the bird browns to perfection, it leaves behind a treasure chest of flavor in the bottom of the pan. Making your own turkey gravy from these drippings is the ultimate way to complete your meal. It is rich, savory, and has a deep, roasted taste that store-bought versions simply cannot match. This simple recipe turns those golden juices into a silky, smooth sauce that brings your whole plate together. Whether you are a beginner or a seasoned cook, you will find this process straightforward and incredibly rewarding.
Why Make This Easy Turkey Gravy From Drippings
Making gravy from scratch is much easier than people think. Using the natural drippings from your roast ensures that the gravy tastes exactly like your main course, creating a beautiful harmony of flavors. It is also a great way to ensure your food is free from unnecessary preservatives or artificial thickeners found in canned versions. This recipe uses simple pantry staples like flour and stock, meaning you do not have to run to the store for extra ingredients. Plus, the silky texture and savory aroma will truly impress your guests and make your holiday dinner feel extra special.
How to Make Easy Turkey Gravy From Drippings
The process starts by capturing all the brown bits and juices left in your roasting pan after the turkey is finished. You will separate the liquid fat from the savory juices to create a “roux.” By cooking the flour in the turkey fat first, you remove the raw flour taste and create a thick base. Then, you slowly whisk in the juices and stock until the mixture transforms into a bubbling, thick, and glossy sauce. It only takes about ten minutes on the stove, making it the perfect task to do while your turkey rests before carving.
Ingredients
- 1/4 cup turkey drippings (the fat separated from the pan juices)
- 1/4 cup all-purpose flour
- 2 cups liquid (pan juices plus enough turkey or chicken stock to reach 2 cups)
- Salt to taste
- Freshly ground black pepper to taste
- 1 teaspoon fresh thyme or rosemary, finely chopped (optional)
Directions
- Remove the roasted turkey from the pan and set it aside to rest. Pour all the liquids from the roasting pan into a large glass measuring cup or a fat separator.
- Wait a few minutes for the fat to rise to the top. Carefully skim off 1/4 cup of the clear yellow fat and place it into a saucepan over medium heat.
- If you have remaining juices at the bottom of the measuring cup (the dark liquid below the fat), keep them. Add enough turkey or chicken stock to these juices to make exactly 2 cups of liquid.
- Whisk the flour into the hot fat in the saucepan. Cook and whisk constantly for about 2 minutes until the mixture smells slightly nutty and looks golden. This prevents the gravy from tasting like raw flour.
- Slowly pour the 2 cups of stock/juice mixture into the saucepan, whisking vigorously the whole time to prevent lumps from forming.
- Continue cooking and whisking until the gravy reaches a simmer and thickens to your liking. This usually takes 3 to 5 minutes.
- Stir in the fresh herbs if you are using them. Taste the gravy and add salt and pepper as needed.
- Pour the hot gravy into a warmed gravy boat and serve immediately.
Nutritional Information
This nutritional information is an estimate per 1/4 cup serving:
- Calories: 85 kcal
- Total Fat: 7g
- Saturated Fat: 2g
- Cholesterol: 10mg
- Sodium: 350mg (varies based on stock used)
- Total Carbohydrates: 4g
- Dietary Fiber: 0g
- Sugars: 0g
- Protein: 2g
How to Serve Easy Turkey Gravy From Drippings
This gravy is the perfect companion for a traditional roast turkey dinner. Pour it generously over thick slices of turkey breast and thighs to keep the meat moist and flavorful. It is also essential for a mountain of fluffy mashed potatoes, where it can pool in a delicious well in the center. Don’t forget to drizzle some over your herb stuffing or dressing. If you have leftovers, this gravy is excellent for making “open-faced” turkey sandwiches the next day, served over a slice of toasted bread with more warm gravy on top.
How to Store Easy Turkey Gravy From Drippings
You can store any leftover gravy in an airtight container in the refrigerator for up to 3 to 4 days. If you want to keep it longer, this gravy freezes quite well because it is thickened with flour. Pour the cooled gravy into a freezer-safe bag or container and freeze for up to 3 months. When you are ready to use it again, thaw it in the fridge overnight. Reheat it in a small saucepan over low heat, whisking constantly. If the gravy looks a bit separated or too thick after being cold, simply whisk in a splash of water or stock to bring back its silky texture.
Expert Tips for Perfect Easy Turkey Gravy From Drippings
For the smoothest gravy, always whisk the liquid in very slowly at the beginning. Adding it all at once can cause the flour to clump. If you do end up with lumps, do not worry! You can easily fix it by pouring the finished gravy through a fine-mesh sieve or giving it a quick whirl in a blender. Another tip is to “deglaze” your roasting pan. After pouring out the juices, add a splash of stock to the hot pan and scrape up any stuck brown bits (called “fond”) with a wooden spoon. These bits contain the most intense flavor and should be added to your 2 cups of liquid.
Delicious Variations
You can easily customize this gravy to suit your taste. For a Creamy Turkey Gravy, replace 1/2 cup of the stock with heavy cream at the very end. If you love earthy flavors, try Mushroom Turkey Gravy by sautéing sliced mushrooms in the turkey fat before adding the flour. For a Roasted Garlic Gravy, mash a few cloves of roasted garlic into the roux before adding the liquid. You can also change the herbs; while thyme and rosemary are classic, adding a little sage provides that quintessential holiday flavor that everyone loves.
Frequently Asked Questions
1. What if I don’t have enough drippings?
If your turkey didn’t produce much fat, you can use melted butter instead. If you don’t have enough juice, just use more chicken or turkey stock to make up the volume.
2. Why is my gravy too thin?
Gravy thickens as it simmers. If it is still too thin after 5 minutes, mix a teaspoon of cornstarch with a teaspoon of cold water and whisk it into the boiling gravy.
3. How do I fix salty gravy?
If the pan drippings were very salty, your gravy might be too. You can dilute it with more unsalted stock or a little bit of water. Adding a splash of cream can also help mellow out the saltiness.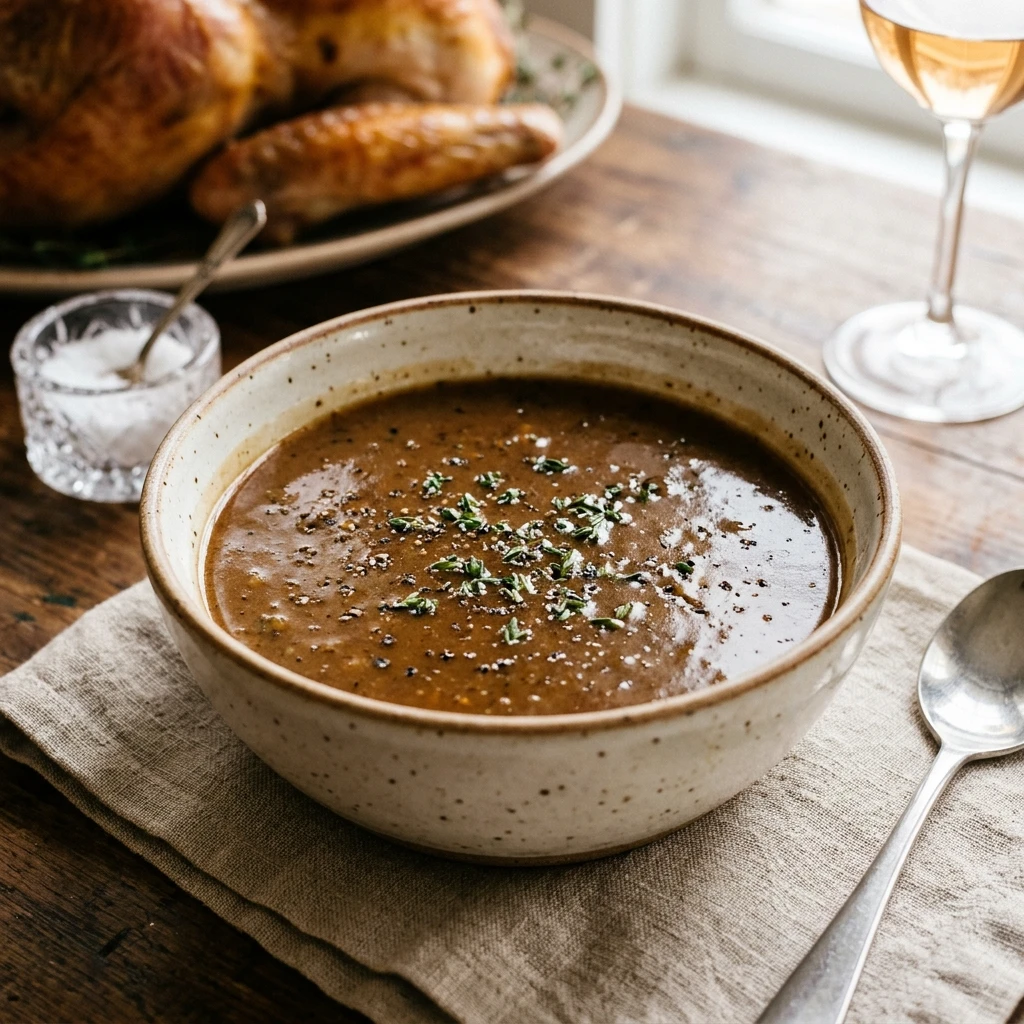
4. Can I make this ahead of time?
You can make the base with stock a day early, but the best flavor comes from using the fresh drippings the day of. If you are stressed, you can roast turkey wings a few days before to get drippings early.
5. Is this gravy gluten-free?
This specific recipe uses all-purpose flour, so it is not gluten-free. To make it gluten-free, use a gluten-free all-purpose flour blend or use cornstarch (though the method for cornstarch is slightly different).
6. Why is my gravy lumpy?
Lumps happen when the flour isn’t fully incorporated or the liquid is added too fast. Always use a whisk and add liquid gradually. A strainer is your best friend for fixing lumps!
7. Can I use this recipe for chicken?
Absolutely! This method works perfectly for roast chicken drippings as well. Simply follow the same ratios.
8. What is a “fat separator”?
It is a special pitcher with a spout that starts at the bottom. Since fat floats, the juice stays at the bottom, allowing you to pour out the flavorful juice while leaving the fat behind in the pitcher.
9. How do I give my gravy a darker color?
The color comes from the “fond” or the brown bits in the pan. If you want it darker, let the roux (fat and flour) cook a minute or two longer until it is a deeper brown, or add a drop of browning sauce.
10. Can I add the giblets to this gravy?
Yes! If you enjoy giblet gravy, simmer the giblets in stock while the turkey roasts, then finely mince them and stir them into the finished gravy.
Conclusion
Mastering this Easy Turkey Gravy From Drippings is a skill that will elevate your holiday meals for years to come. There is something incredibly satisfying about turning the remnants of a roast into a rich, velvety sauce that everyone at the table will enjoy. It captures the essence of your cooking and ensures that every bite of your dinner is moist and flavorful. We hope you give this simple method a try during your next big family meal. If you enjoyed this recipe, please share it with your friends or leave a comment below to tell us how your gravy turned out. Happy cooking!