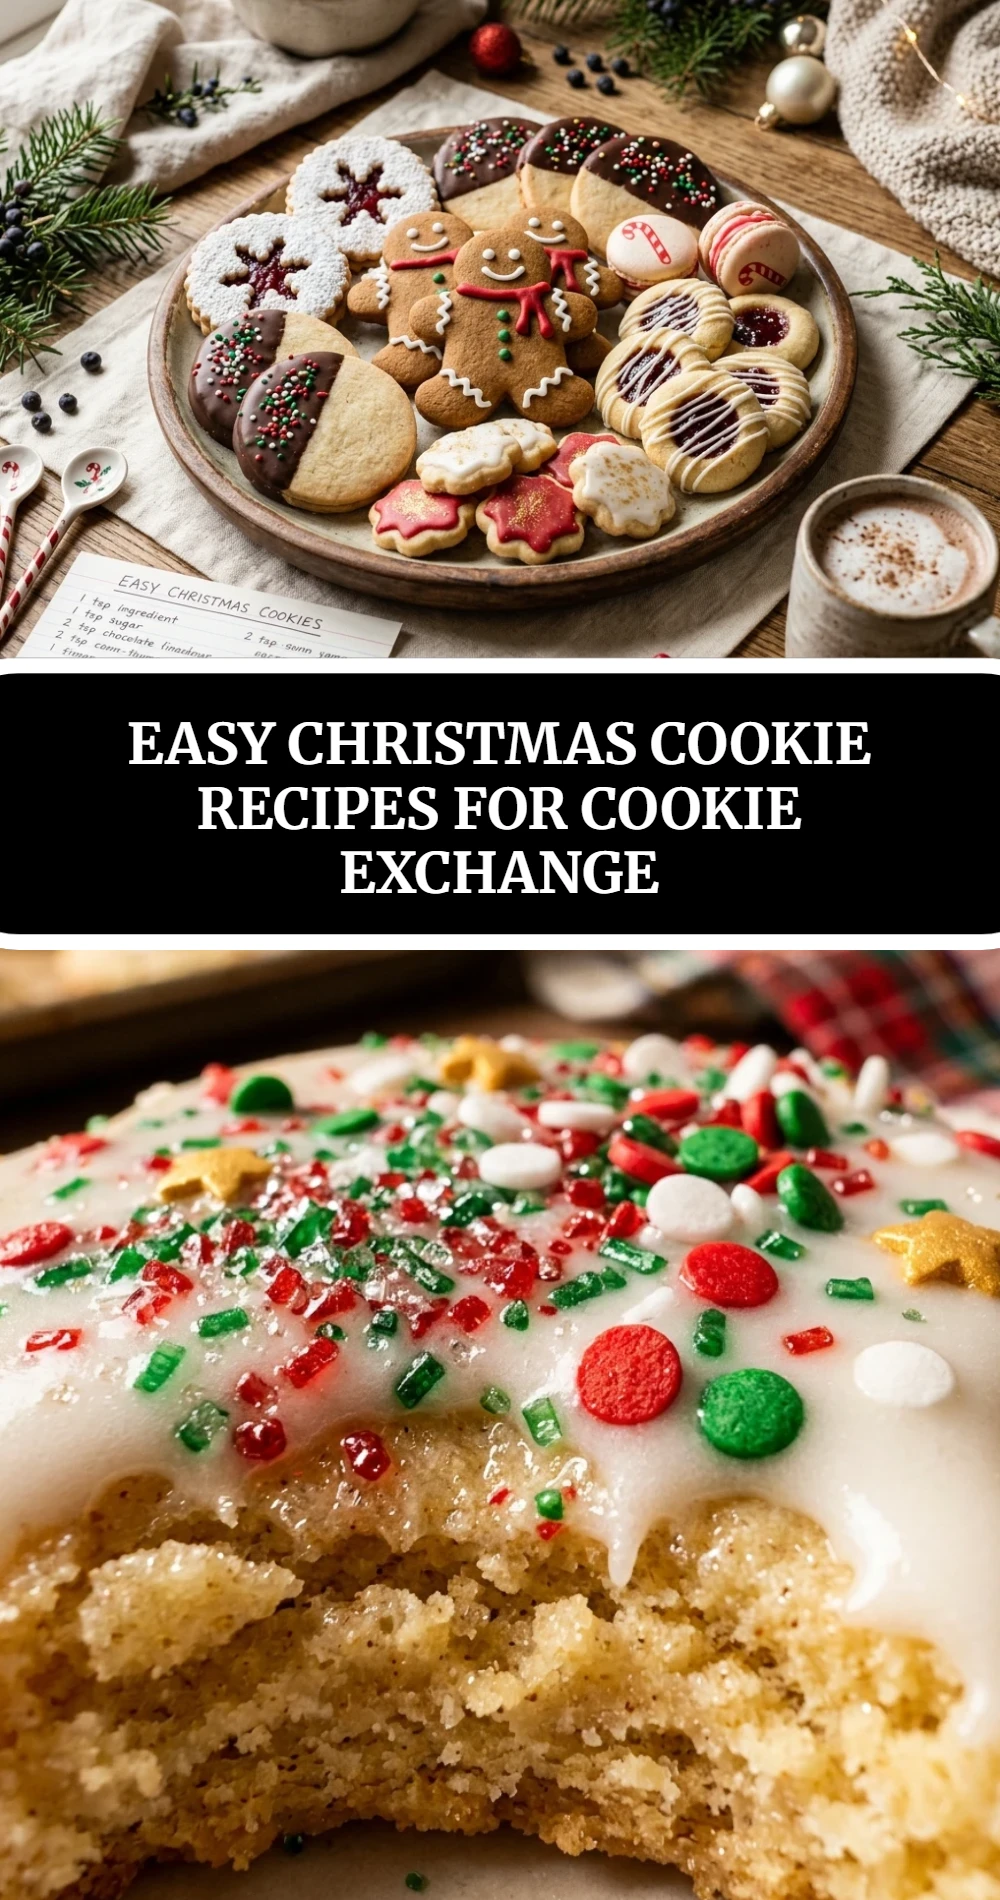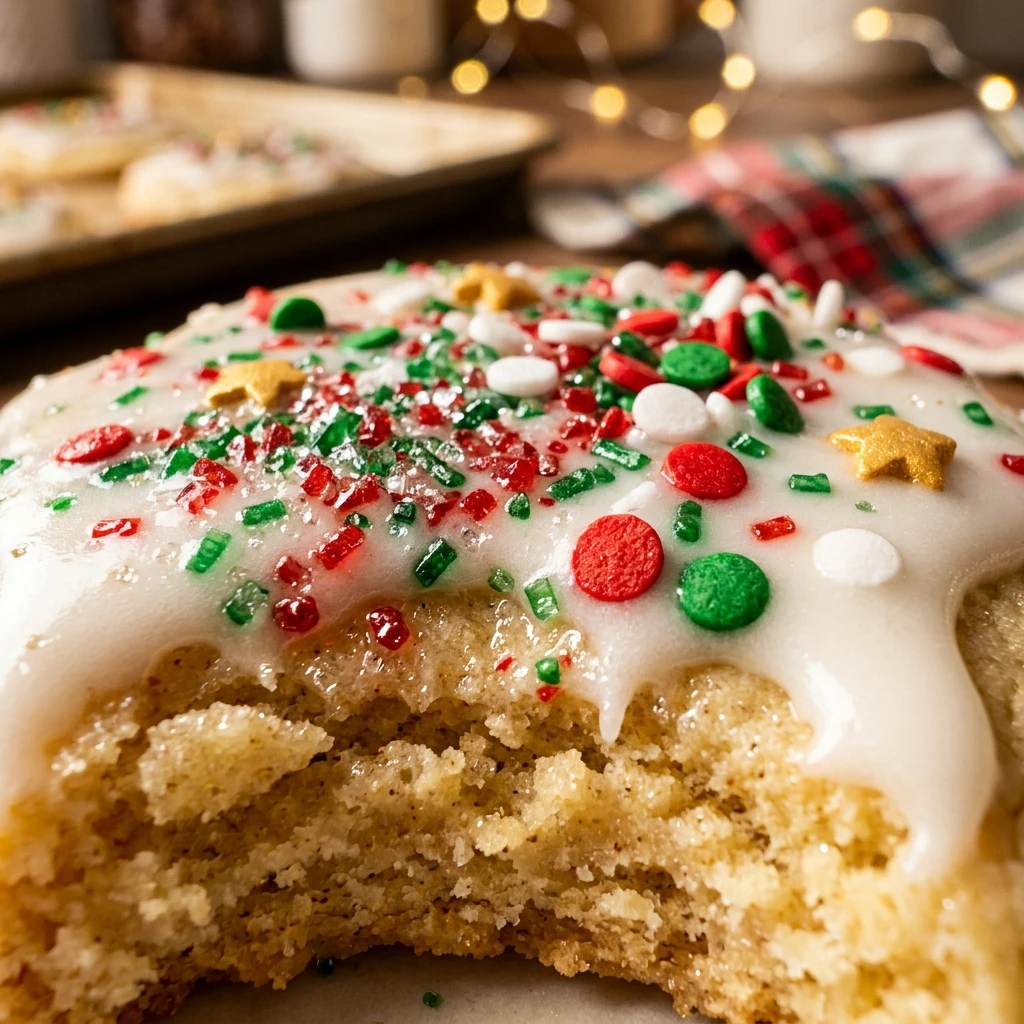
The holiday season is all about sharing joy, and nothing says love quite like a box of homemade treats. If you are participating in a cookie exchange this year, you need a recipe that is reliable, delicious, and easy to make in large batches. These cookies fill your kitchen with the sweet aroma of butter and vanilla, creating a cozy atmosphere that defines Christmas. They have a soft, melt-in-your-mouth texture with just the right amount of sweetness. Whether you are a beginner baker or a seasoned pro, these cookies are designed to impress everyone at the party without causing you any stress.
Why Make This Easy Christmas Cookie Recipes for Cookie Exchange
This recipe is a must-have for the busy holiday season. First, it uses simple ingredients that you likely already have in your pantry. You won’t need to hunt for rare items at the grocery store. Second, the dough is very forgiving and holds its shape perfectly, making it ideal for stacking in gift boxes or tins. These cookies look beautiful even with minimal decoration. Most importantly, they stay fresh for days, which is vital when you are giving them away as gifts. They offer a classic flavor that appeals to both children and adults, ensuring they will be the first ones to disappear from the exchange table.
How to Make Easy Christmas Cookie Recipes for Cookie Exchange
Making these cookies is a straightforward process that focuses on proper mixing and temperature. You start by creaming together softened butter and sugar until the mixture is light and fluffy. This step incorporates air, which gives the cookies their light texture. After adding the wet ingredients, you gently fold in the dry ingredients. The goal is to mix until just combined to keep the cookies tender. Once the dough is ready, you scoop it into even rounds and bake them until the edges are barely golden. It is a quick and satisfying process that yields professional results every time.
Ingredients:
- 1 cup unsalted butter, softened to room temperature
- 1 cup granulated white sugar
- 1 large egg, room temperature
- 2 teaspoons pure non-alcoholic vanilla extract
- 1/2 teaspoon almond extract (optional for extra flavor)
- 2 1/2 cups all-purpose flour
- 1/2 teaspoon baking powder
- 1/4 teaspoon salt
- Festive sprinkles or colored sugar for decoration
Directions:
- Preheat your oven to 350°F (175°C). Line two large baking sheets with parchment paper or silicone baking mats to prevent sticking.
- In a large mixing bowl, beat the softened butter and granulated sugar together using a hand mixer or stand mixer. Cream them on medium-high speed for about 3 minutes until the mixture looks pale and fluffy.
- Add the egg, vanilla extract, and almond extract. Beat again until everything is well combined, scraping down the sides of the bowl with a spatula as needed.
- In a separate medium bowl, whisk together the all-purpose flour, baking powder, and salt.
- Turn the mixer to low speed and gradually add the flour mixture to the butter mixture. Mix just until the white streaks of flour disappear. Do not overmix, or the cookies will be tough.
- Use a small cookie scoop or a tablespoon to form 1-inch balls of dough. Place them on the prepared baking sheets about 2 inches apart.
- If you are using sprinkles, gently press them onto the top of each dough ball. You can also lightly flatten the balls with the bottom of a glass dipped in sugar.
- Bake for 8 to 10 minutes. The cookies should look set on top and be very lightly browned on the bottom. They will still look a bit soft, but they will firm up as they cool.
- Let the cookies rest on the baking sheet for 5 minutes before moving them to a wire cooling rack to cool completely.
Nutritional Information
This information is based on a single serving (one cookie). This recipe typically yields about 24 to 30 cookies.
- Calories: 135 kcal
- Total Fat: 7g
- Saturated Fat: 4.5g
- Cholesterol: 25mg
- Sodium: 45mg
- Total Carbohydrates: 16g
- Dietary Fiber: 0.5g
- Sugars: 8g
- Protein: 1.5g
How to Serve Easy Christmas Cookie Recipes for Cookie Exchange
Presentation is everything for a cookie exchange. Arrange these cookies on a festive platter decorated with holly leaves or small ornaments. They pair wonderfully with a warm cup of cocoa, tea, or a cold glass of milk. If you are gifting them, place the cookies in clear cellophane bags tied with a red or green ribbon. You can also layer them in decorative tin boxes with pieces of parchment paper between the layers to prevent them from sticking together. Adding a small handwritten recipe card to each gift package is a thoughtful touch that your friends and family will appreciate.
How to Store Easy Christmas Cookie Recipes for Cookie Exchange
To keep these cookies tasting fresh, store them in an airtight container at room temperature. They will stay soft and delicious for up to 5 days. If you need to keep them longer, you can store the container in the refrigerator for up to 2 weeks. For long-term storage, these cookies freeze beautifully. Place the baked and cooled cookies in a freezer-safe bag or container with layers separated by wax paper. They will last for up to 3 months in the freezer. When you are ready to eat them, simply let them thaw at room temperature for about an hour.
Expert Tips for Perfect Easy Christmas Cookie Recipes for Cookie Exchange
For the best results, always use room temperature butter and eggs. This ensures the ingredients emulsify correctly, resulting in a smooth dough. When measuring your flour, use the “spoon and level” method rather than scooping the flour directly with the measuring cup; this prevents the cookies from becoming too dry. If your kitchen is very warm, chill the dough balls in the fridge for 15 minutes before baking to prevent them from spreading too much. Lastly, always use fresh baking powder to ensure your cookies have a slight, delicate lift.
Delicious Variations
You can easily customize this base recipe to create different flavors for your exchange. Add a teaspoon of lemon or orange zest to the dough for a bright, citrusy twist. For chocolate lovers, dip half of each cooled cookie into melted dark or white chocolate and top with crushed peppermint candies. You can also mix in half a cup of finely chopped pecans or walnuts for a nice crunch. If you want a spice cookie version, add a teaspoon of ground cinnamon and a pinch of nutmeg to the dry ingredients for that classic holiday warmth.
Frequently Asked Questions
1. Can I make the dough in advance?
Yes, you can prepare the dough and keep it in the refrigerator for up to 2 days before baking. Just let it sit at room temperature for a few minutes so it is soft enough to scoop.
2. Why did my cookies turn out flat?
Cookies often flatten if the butter was too melted or if the baking sheet was hot when you put the dough on it. Make sure your butter is soft but still cool, and always use room temperature baking sheets.
3. Can I use salted butter instead of unsalted?
Yes, you can. If you use salted butter, simply omit the extra 1/4 teaspoon of salt mentioned in the recipe.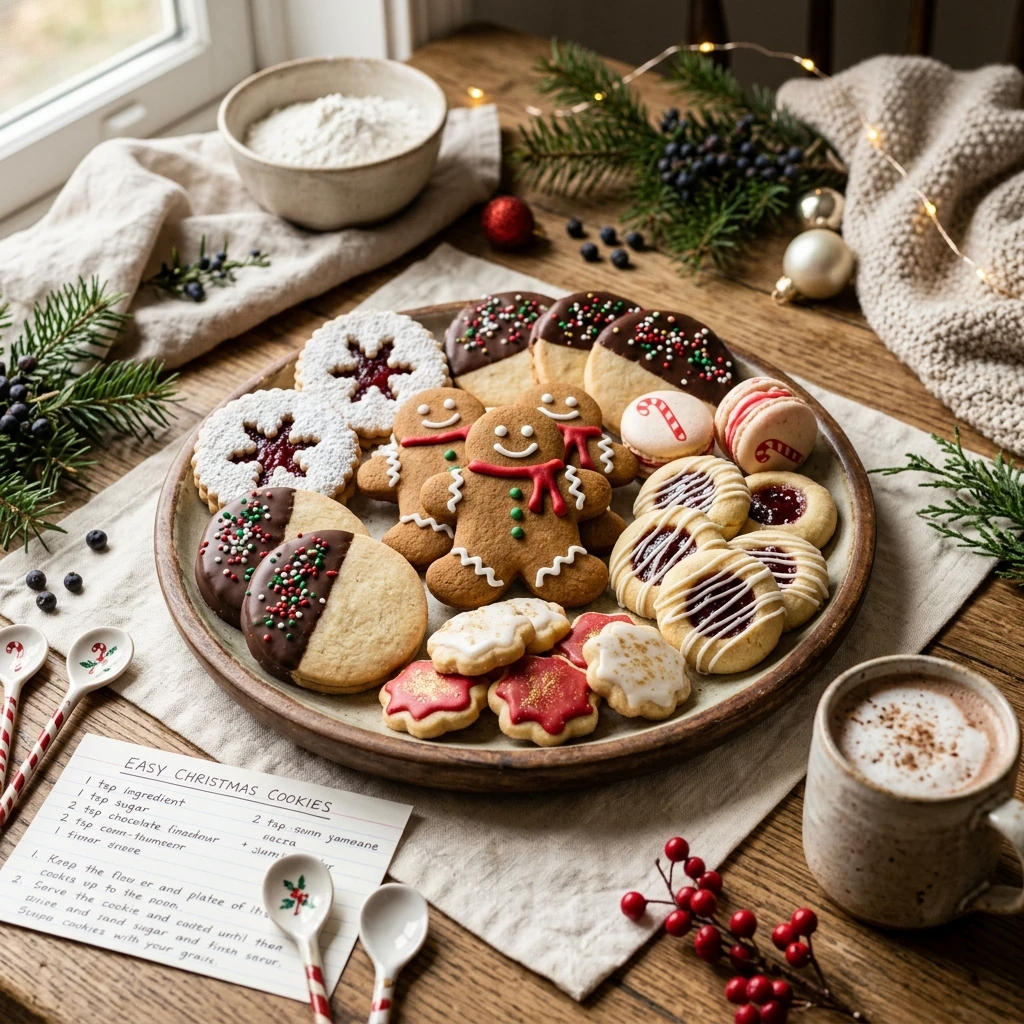
4. How do I know when the cookies are done?
The cookies are done when the edges are set and just beginning to turn a very light golden brown. The centers should still look slightly soft and matte.
5. Can I use this recipe for cookie cutters?
This specific recipe is a “drop” cookie style. If you want to use cutters, add an extra 1/4 cup of flour and chill the dough for at least an hour before rolling it out.
6. Is it okay to use a hand mixer?
Absolutely! A hand mixer works perfectly for this recipe. Just be careful not to overmix once you add the flour.
7. How many cookies does this recipe make?
Depending on the size of your scoop, this recipe typically makes between 24 and 30 medium-sized cookies.
8. Can I substitute the sugar?
You can use light brown sugar for a chewier, more caramel-like flavor, but granulated sugar gives the classic “sugar cookie” look and texture.
9. My cookies are hard. What happened?
Hard cookies are usually the result of overbaking or overmixing the dough. Next time, try taking them out of the oven a minute earlier.
10. Can I add food coloring to the dough?
Yes! You can add a few drops of gel food coloring during the mixing process to make festive red or green cookies.
Conclusion
Creating beautiful treats for a holiday cookie exchange doesn’t have to be complicated. This Easy Christmas Cookie recipe provides a reliable foundation for delicious, festive snacks that travel well and taste even better. With their buttery flavor and soft texture, they are sure to be a highlight of any holiday gathering. Baking is a wonderful way to slow down and enjoy the season, so grab your apron and start mixing! We would love to hear how your cookies turned out—feel free to share your favorite variations or photos in the comments below. Happy baking and Merry Christmas!