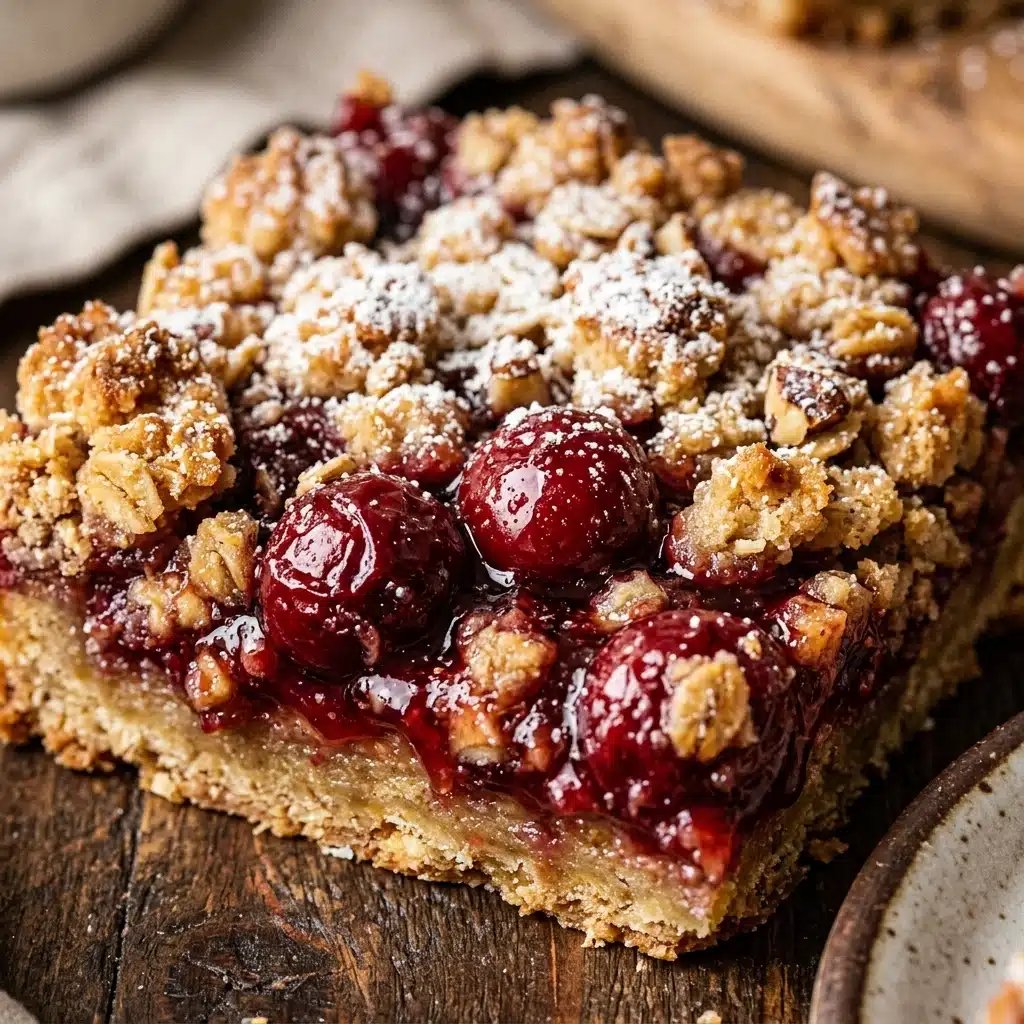
Cherry Crumble Bars are a delightful dessert that perfectly balances sweet and tart flavors. These bars combine a buttery oat crumble with juicy cherries, creating a treat that’s pleasing both to the palate and the eye. They are easy to make, and whether you’re enjoying them at home or sharing them at a gathering, they’re sure to impress everyone with their flavor and texture.
Why Make This Cherry Crumble Bars
Cherry Crumble Bars are a fantastic choice for several reasons. First, they showcase the natural sweetness of cherries, making them a wonderful summer dessert. The combination of oats and flour in the crumble provides a satisfying crunch that contrasts beautifully with the tender cherry filling. They are also versatile; you can serve them warm with a scoop of ice cream or at room temperature for an afternoon snack. Plus, they are quick to prepare, allowing you to make a delicious treat with minimal fuss.
How to Make Cherry Crumble Bars
Making Cherry Crumble Bars is straightforward. You’ll start by preparing a crumble mixture that forms both the base and topping. Then, you’ll toss the cherries with sugar and other flavorings before layering everything together and baking it. The result is a beautifully baked slab of dessert that’s easy to cut and serve.
Ingredients:
- 2 cups all-purpose flour
- 1 ½ cups rolled oats
- 1 cup light brown sugar, packed
- 1 teaspoon baking powder
- ½ teaspoon salt
- 1 cup cold unsalted butter, cubed
- 1 teaspoon vanilla extract
- 4 cups fresh or frozen pitted cherries
- ¼ cup granulated sugar
- 1 tablespoon cornstarch
- 1 tablespoon lemon juice
Directions:
- Preheat your oven to 375°F (190°C). Grease a 9×9 inch square baking pan or line it with parchment paper for easy removal.
- In a large bowl, whisk together the flour, oats, brown sugar, baking powder, and salt.
- Add the cold, cubed butter and vanilla extract to the flour mixture. Use a pastry cutter or your fingers to work the butter into the dry ingredients until it resembles coarse crumbs.
- Press about two-thirds of this crumble mixture firmly into the bottom of your prepared baking pan.
- In a separate medium bowl, toss the pitted cherries with the granulated sugar, cornstarch, and lemon juice until well-coated.
- Spread the cherry mixture evenly over the pressed crust in the pan.
- Sprinkle the remaining crumble mixture over the top of the cherries without pressing it down, keeping it loose for better texture.
- Bake for 35 to 40 minutes, or until the top is golden brown and the cherry filling is bubbling.
- Remove the pan from the oven and let it cool completely on a wire rack before cutting into bars.
Nutritional Information
How to Serve Cherry Crumble Bars
These bars are delicious served warm or at room temperature. For a special touch, top them with a scoop of vanilla ice cream or a dollop of whipped cream. They’re great for gatherings, picnics, or as a sweet ending to any meal. You can also pair them with a cup of coffee or tea for a delightful afternoon treat.
How to Store Cherry Crumble Bars
Store Cherry Crumble Bars in an airtight container at room temperature for up to 3 days. If you need to keep them for longer, refrigerate them for up to a week. You can also freeze the bars for up to 3 months. Just ensure they’re well wrapped or stored in a freezer-safe container. To enjoy, simply let them thaw in the fridge or at room temperature.
Expert Tips for Perfect Cherry Crumble Bars
- Use fresh cherries for the best flavor, but frozen ones also work well. Just thaw and drain them before use.
- Make sure the butter is cold to achieve a crumbly texture.
- Don’t skip the lemon juice; it enhances the cherry flavor and balances the sweetness.
- If you prefer a sweeter dessert, feel free to increase the sugar slightly.
Delicious Variations
- Berry Crumble Bars: Substitute cherries with mixed berries for a colorful and tangy twist.
- Nutty Crumble: Add chopped nuts like pecans or almonds to the crumble mixture for added crunch.
- Chocolate Chip Addition: Sprinkle mini chocolate chips on top of the cherry filling for a decadent touch.
Frequently Asked Questions
Can I use other fruits for this recipe?
- Yes! Peaches, blueberries, or raspberries can also be delicious substitutes.
How do I know when the bars are done baking?
- Look for a golden brown top and bubbling filling. A toothpick inserted should come out clean from the crumb top.
What if I don’t have rolled oats?
- Quick oats can be used in a pinch, but rolled oats provide a better texture.
Can I make these bars gluten-free?
- You can substitute the all-purpose flour with a gluten-free flour blend and ensure your oats are certified gluten-free.
How should I cut the bars?
- To cut clean bars, use a sharp knife and make sure they are completely cool before slicing.
Can I double the recipe?
- Absolutely! Just use a larger baking pan and adjust the baking time accordingly.
How do I prevent the cherries from sinking?
- Tossing the cherries with cornstarch helps them hold together better during baking.
What can I do with leftover cherries?
- You can freeze cherries or make them into a sauce to drizzle over the bars or ice cream.
Can I use brown sugar instead of granulated sugar?
- Yes! It will add a richer flavor, but keep an eye on the sweetness level as it is more potent.
Can I make these bars ahead of time?
- Yes! You can make them a day in advance and store them in the fridge until you’re ready to serve.
Conclusion
Cherry Crumble Bars are a delightful way to enjoy summer fruits and bring joy to any dessert table. With their comforting textures and flavors, they are sure to become a family favorite. We encourage you to try this easy recipe and share the results with friends and family. Happy baking, and don’t forget to savor every delicious bite!
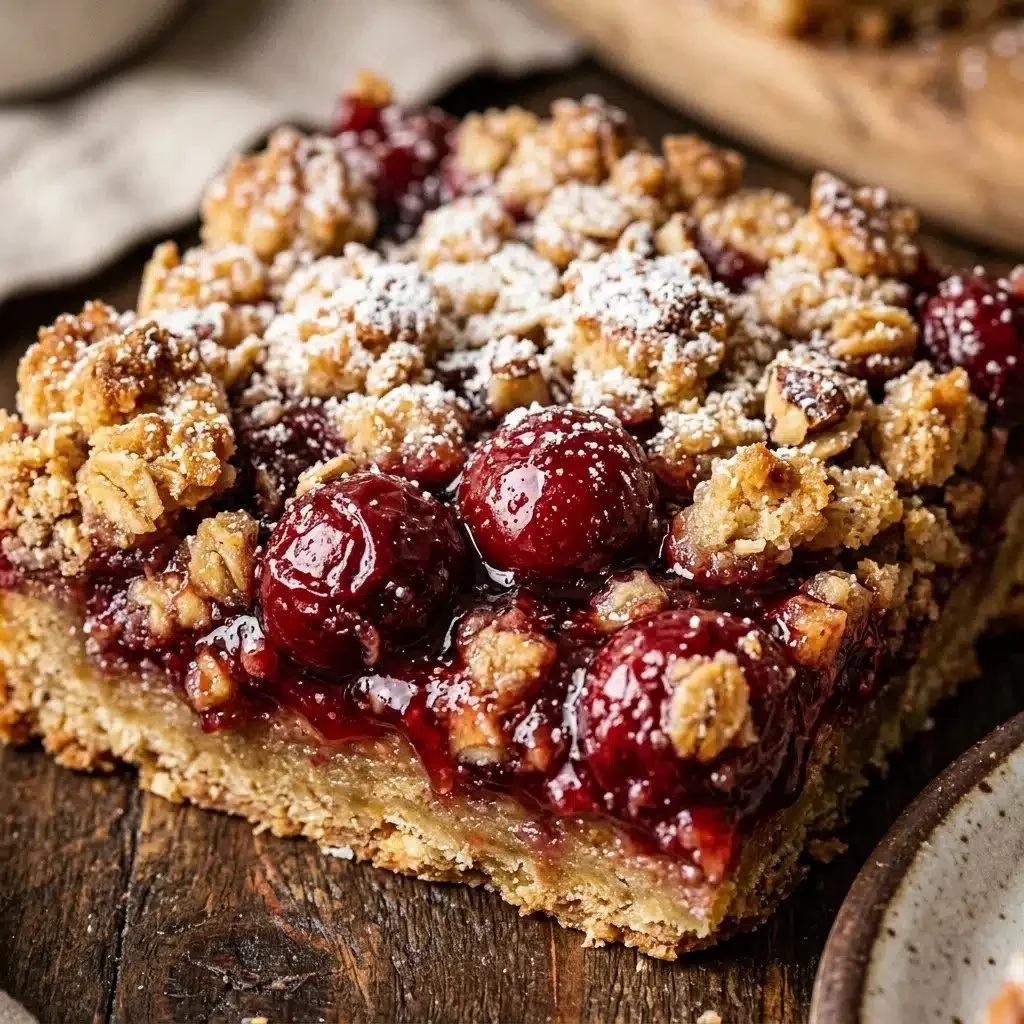
Cherry Crumble Bars
Ingredients
Method
- Preheat your oven to 375°F (190°C). Grease a 9×9 inch square baking pan or line it with parchment paper for easy removal.
- In a large bowl, whisk together the flour, oats, brown sugar, baking powder, and salt.
- Add the cold, cubed butter and vanilla extract to the flour mixture. Use a pastry cutter or your fingers to work the butter into the dry ingredients until it resembles coarse crumbs.
- Press about two-thirds of this crumble mixture firmly into the bottom of your prepared baking pan.
- In a separate medium bowl, toss the pitted cherries with the granulated sugar, cornstarch, and lemon juice until well-coated.
- Spread the cherry mixture evenly over the pressed crust in the pan.
- Sprinkle the remaining crumble mixture over the top of the cherries without pressing it down, keeping it loose for better texture.
- Bake for 35 to 40 minutes, or until the top is golden brown and the cherry filling is bubbling.
- Remove the pan from the oven and let it cool completely on a wire rack before cutting into bars.