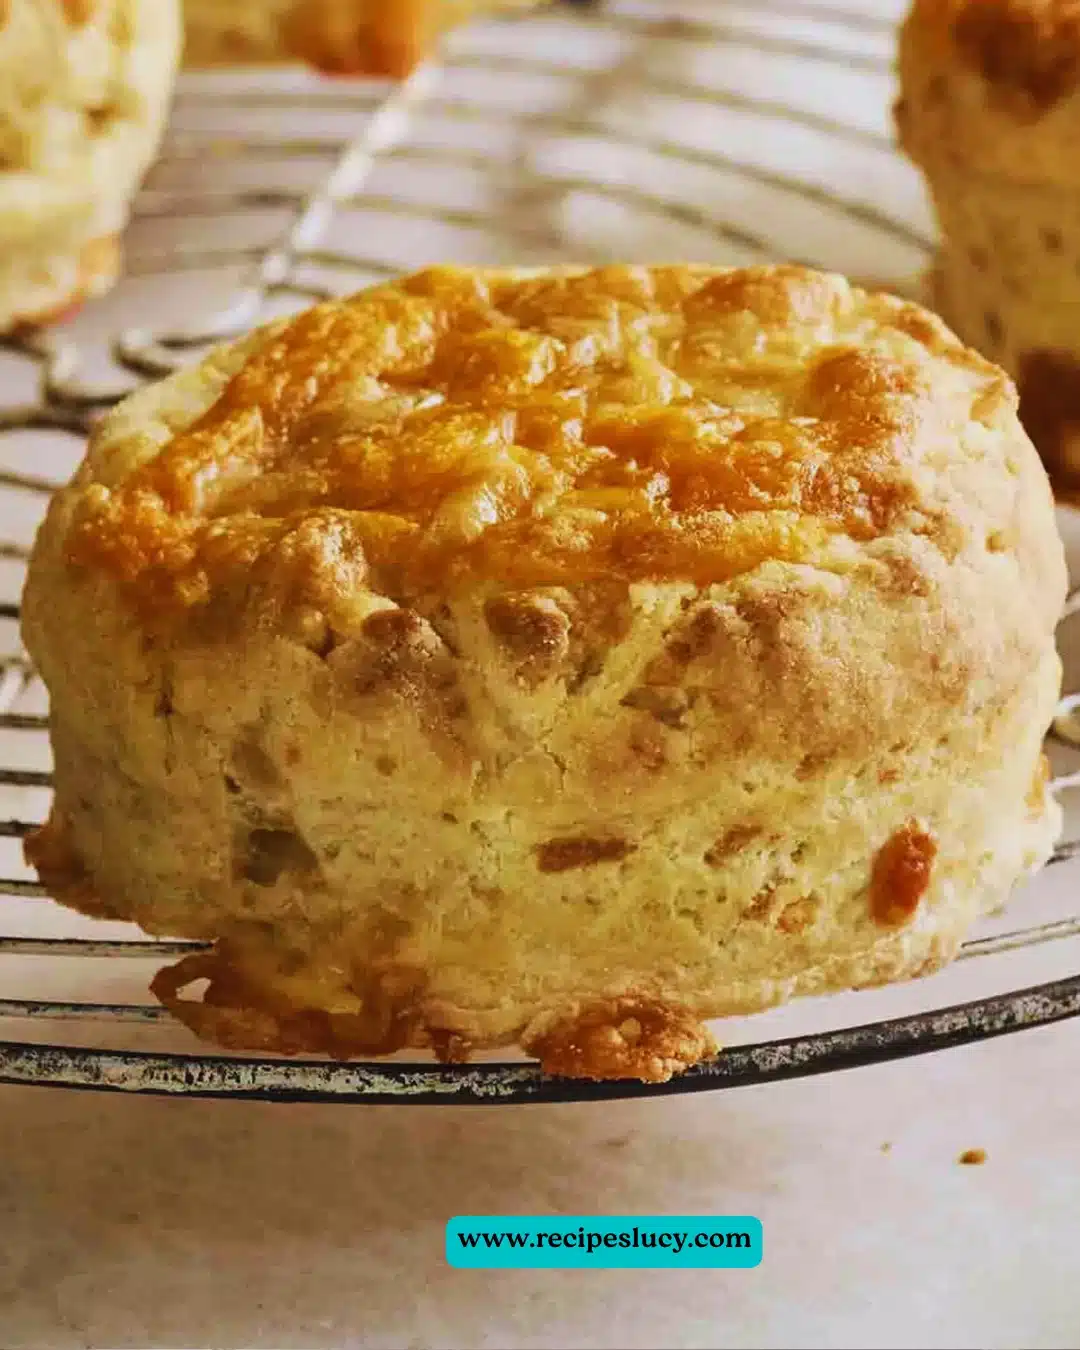
Cheese scones are the perfect blend of rich, buttery flavors and cheesy goodness. They make for a delightful snack or a fantastic addition to any breakfast or brunch table. These scones are easy to whip up and can infuse your kitchen with the enticing aroma of baked goods. Imagine biting into a warm, flaky scone, with gooey cheese melting in your mouth – pure comfort food!
Why Make This Cheese Scones
There are plenty of reasons to make cheese scones! First off, they’re incredibly simple to prepare, making them ideal for both novice and experienced bakers. The combination of cheese and butter creates a rich flavor profile that pleases everyone’s taste buds. Plus, they are versatile enough to be served at any time of day. Whether you’re hosting a brunch, planning a picnic, or simply looking for a cozy snack, cheese scones always deliver.
How to Make Cheese Scones
Making cheese scones is a straightforward process that doesn’t require advanced baking skills. Nonetheless, a few key techniques can ensure your scones turn out perfectly. Keep your butter cold and work quickly to maintain a flaky texture. Mixing in the cheese and forming the dough gently will give you the soft interior that everyone loves. By following simple steps, you can create scones that are crispy on the outside and fluffy on the inside.
Ingredients:
- 2 cups all-purpose flour
- 1 tablespoon baking powder
- 1/2 teaspoon salt
- 1/4 cup butter, cold and cubed
- 1 cup shredded cheese (e.g., cheddar)
- 3/4 cup milk
- 1 egg, for brushing (optional)
Directions:
- Preheat the oven to 400°F (200°C).
- In a large bowl, mix together flour, baking powder, and salt.
- Cut in the cold butter until the mixture resembles coarse crumbs.
- Stir in the shredded cheese.
- Add milk gradually and mix until a dough forms.
- Turn the dough onto a floured surface and knead gently.
- Roll the dough to about 1/2 inch thick and cut into rounds.
- Place the scones on a baking sheet and brush the tops with beaten egg if desired.
- Bake for 15-20 minutes or until golden.
- Serve warm.
Nutritional Information
Per serving (1 scone):
- Calories: 180
- Total Fat: 8g
- Saturated Fat: 5g
- Cholesterol: 30mg
- Sodium: 250mg
- Total Carbohydrates: 20g
- Dietary Fiber: 0g
- Sugars: 0g
- Protein: 6g
These numbers can vary based on the type of cheese used and any variations in ingredient amounts.
How to Serve Cheese Scones
Cheese scones are best served warm. They pair beautifully with a bit of butter spread on top, allowing the heat to melt it slightly and enhance the flavor. You can enjoy them alongside soups and salads for a hearty lunch or serve them at gatherings as a delicious snack. Consider offering a variety of cheeses to satisfy different palates!
How to Store Cheese Scones
To keep your scones fresh, store them in an airtight container at room temperature for up to 2 days. For longer storage, you can freeze them for up to 3 months. Warm them back up in the oven or microwave before serving for that just-baked taste.
Expert Tips for Perfect Cheese Scones
- Keep Ingredients Cold: Ensure your butter is cold to achieve the perfect flaky texture.
- Don’t Overmix: Gently knead the dough to avoid tough scones.
- Experiment with Cheese: Feel free to try different cheeses such as Gouda, feta, or even a spicy pepper jack for variety.
- Add Herbs: Incorporating fresh herbs like chives or rosemary can elevate the flavor even further.
Delicious Variations
- Herb-Infused Cheese Scones: Add fresh chives, thyme, or rosemary for a fragrant twist.
- Cheddar and Jalapeño: Mix in diced jalapeños for a kick of heat.
- Cheese and Bacon Scones: Add cooked, crumbled bacon for added savory goodness.
- Smoked Cheese Scones: Use smoked gouda for a deep, rich flavor.
Frequently Asked Questions
Can I use whole wheat flour instead of all-purpose flour?
Yes, whole wheat flour can be used for a healthier option, but it may result in denser scones. Consider mixing it with all-purpose flour for a lighter result.What can I substitute for milk?
You can use dairy-free milk alternatives like almond milk, soy milk, or oat milk without compromising the recipe significantly.How do I know when the scones are done baking?
The scones should be golden brown on top and sound hollow when tapped on the bottom.
Conclusion
Cheese scones are a delightful recipe that combines simplicity with delicious flavor. They are perfect any time of day and customizable for various tastes. So why not give it a try? Gather your ingredients, follow the steps, and relish the warm, cheesy goodness that will fill your home with a heavenly aroma. Happy baking! Feel free to share your experiences or ask questions in the comments below!

Cheese Scones
Ingredients
Method
- Preheat the oven to 400°F (200°C).
- In a large bowl, mix together flour, baking powder, and salt.
- Cut in the cold butter until the mixture resembles coarse crumbs.
- Stir in the shredded cheese.
- Add milk gradually and mix until a dough forms.
- Turn the dough onto a floured surface and knead gently.
- Roll the dough to about 1/2 inch thick and cut into rounds.
- Place the scones on a baking sheet and brush the tops with beaten egg if desired.
- Bake for 15-20 minutes or until golden.
- Serve warm.