Why Make This Black Forest Cheesecake Symphony
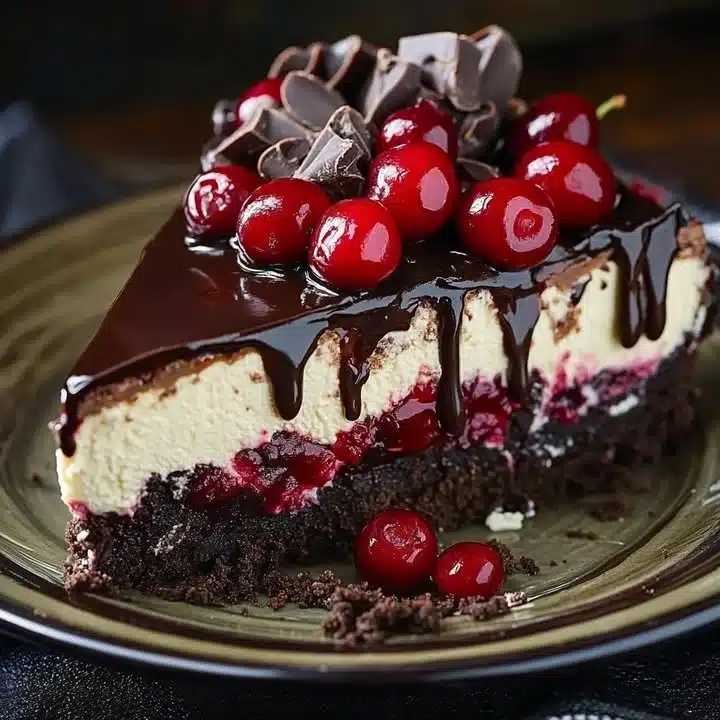
Imagine a dessert that marries the rich flavors of chocolate with the sweet, tart zing of cherries. The Black Forest Cheesecake Symphony is just that—a harmonious blend of creamy cheesecake, chocolate cookie crust, and a luscious cherry topping that pays homage to the classic Black Forest cake. This recipe is perfect for any occasion, whether it’s a birthday, holiday gathering, or simply a weekend treat. It is not only a feast for the eyes but also a delight for the taste buds, making it a must-try for cheesecake lovers everywhere.
How to Make Black Forest Cheesecake Symphony
Embarking on this culinary journey will have your kitchen filled with delectable aromas and a sense of achievement. The process of creating this cheesecake begins with a simple cookie crust, followed by a smooth and creamy filling that is baked to perfection. Topped off with cherry pie filling and a drizzle of melted chocolate, each bite gives a burst of flavors that are guaranteed to impress. Even if you’re new to baking, this recipe is straightforward and will guide you through every step with ease.
Ingredients:
- 2 cups chocolate cookie crumbs
- 1/4 cup unsalted butter, melted
- 3 (8 oz) packages cream cheese, softened
- 1 cup granulated sugar
- 3 large eggs
- 1/4 cup cocoa powder
- 1/2 cup sour cream
- 1 tsp vanilla extract
- 1 cup cherry pie filling
- 1/2 cup fresh cherries (optional, for garnish)
- 1/2 cup semi-sweet chocolate chips
- 2 tbsp heavy cream
Directions:
- Preheat your oven to 325°F (163°C).
- In a mixing bowl, combine the chocolate cookie crumbs and melted butter. Stir until the crumbs are evenly coated. Press this mixture firmly into the bottom of a 9-inch springform pan to form your crust. Bake in the preheated oven for 10 minutes and then allow it to cool.
- While the crust cools, beat the softened cream cheese and sugar together in a large bowl until the mixture is smooth and creamy. Add the eggs one at a time, ensuring each is well integrated before adding the next.
- Gradually mix in the cocoa powder, sour cream, and vanilla extract until everything is thoroughly combined.
- Pour the rich cheesecake filling over your cooled crust, smoothing the top with a spatula. Bake for 50 to 60 minutes, or until the center is set but still slightly jiggly.
- Once baked, turn off the oven and let the cheesecake cool inside for an hour with the door slightly ajar. This helps prevent cracking.
- After an hour, refrigerate the cheesecake for at least 4 hours, but overnight is preferable for the best flavor and texture.
- When you’re ready to serve, spread the cherry pie filling over the top of the chilled cheesecake.
- For a decadent finish, melt the chocolate chips with the heavy cream until smooth and drizzle this over the cheesecake.
- Garnish with fresh cherries if desired, slice, and enjoy!
Nutritional Information
Per serving (1 slice, assumes 12 servings total):
- Calories: 350
- Total Fat: 24g
- Saturated Fat: 14g
- Cholesterol: 95mg
- Sodium: 250mg
- Total Carbohydrates: 30g
- Dietary Fiber: 2g
- Sugars: 20g
- Protein: 5g
How to Serve Black Forest Cheesecake Symphony
This Black Forest Cheesecake Symphony is perfect for any celebration, serving as a showstopper at dinner parties. Pair it with a dollop of whipped cream and a sprinkle of chocolate shavings for an elegant touch. For a casual dessert, serve it alongside coffee or tea for a delightful end to your meal.
How to Store Black Forest Cheesecake Symphony
To keep your cheesecake fresh, store it in the refrigerator covered with plastic wrap or in an airtight container. It will stay delicious for up to 5 days. If you want to extend its life, you can wrap slices in plastic wrap and freeze them for up to 3 months. Thaw in the refrigerator before serving.
Expert Tips for Perfect Black Forest Cheesecake Symphony
- Make sure your cream cheese is fully softened to avoid lumps in your filling.
- Adding a pinch of salt to the cookie crust can enhance the flavor.
- If you prefer a less sweet cheesecake, reduce the sugar slightly or use dark chocolate chips.
- For added texture, mix in some chocolate chunks or nuts to the cheesecake filling before baking.
Delicious Variations
- Fruit Twist: Instead of cherry pie filling, try using raspberry or strawberry filling for a different fruity flair.
- Chocolate Overload: Add mini chocolate chips to the cheesecake filling for extra chocolatey goodness.
- Nutty Delight: Incorporate chopped nuts into the crust for a delightful crunch.
Frequently Asked Questions
1. Can I use a different type of cookie for the crust?
Yes! While chocolate cookies are traditional, you can use graham crackers or even Oreos for a variation. Just be sure to adjust the butter accordingly.
2. What if I don’t have a springform pan?
You can use a standard 9-inch pie dish; however, keep in mind that transferring the cheesecake for serving will be a bit trickier.
3. Can I make this cheesecake in advance?
Absolutely! In fact, making it a day ahead often enhances the flavors. Just be sure to let it chill for at least 4 hours before topping it with cherries.
Conclusion
The Black Forest Cheesecake Symphony not only tantalizes your taste buds but also brings a touch of elegance to any table. Its delightful blend of creamy textures and rich chocolate with the bright pop of cherries makes it a standout dessert that everyone will love. Don’t hesitate to try this recipe—it’s easy, rewarding, and sure to impress your friends and family. Share your finished masterpiece with us and savor the symphony of flavors you’ve created!

Black Forest Cheesecake Symphony
Ingredients
Method
- Preheat your oven to 325°F (163°C).
- In a mixing bowl, combine the chocolate cookie crumbs and melted butter. Stir until the crumbs are evenly coated.
- Press this mixture firmly into the bottom of a 9-inch springform pan to form your crust. Bake in the preheated oven for 10 minutes and then allow it to cool.
- While the crust cools, beat the softened cream cheese and sugar together in a large bowl until the mixture is smooth and creamy.
- Add the eggs one at a time, ensuring each is well integrated before adding the next.
- Gradually mix in the cocoa powder, sour cream, and vanilla extract until everything is thoroughly combined.
- Pour the rich cheesecake filling over your cooled crust, smoothing the top with a spatula. Bake for 50 to 60 minutes, or until the center is set but still slightly jiggly.
- Once baked, turn off the oven and let the cheesecake cool inside for an hour with the door slightly ajar to prevent cracking.
- After an hour, refrigerate the cheesecake for at least 4 hours, but overnight is preferable for the best flavor and texture.
- When you’re ready to serve, spread the cherry pie filling over the top of the chilled cheesecake.
- Melt the chocolate chips with the heavy cream until smooth and drizzle this over the cheesecake.
- Garnish with fresh cherries if desired, slice, and enjoy!